“Easy and cute spring nails
With the arrival of longer days and warmer weather, our fashion sense also undergoes a transformation. One of the most exciting ways to refresh your look for the new season is by giving your nails a spring-inspired makeover. In this article, we’ll explore the latest trends in spring nail art, provide you with easy and cute nail design ideas, and guide you through a step-by-step tutorial to help you achieve the perfect spring nails.

Spring Nail Trends
This season, the focus is on soft pastels, bright florals, and delicate patterns that evoke the feeling of blooming flowers and gentle sunshine. Some of the most popular spring nail trends include:
- Pastel Colors: Soft pink, baby blue, mint green, and lemon yellow are just a few of the pastel shades that are dominating the spring nail scene. These calming colors are perfect for creating a fresh and feminine look.
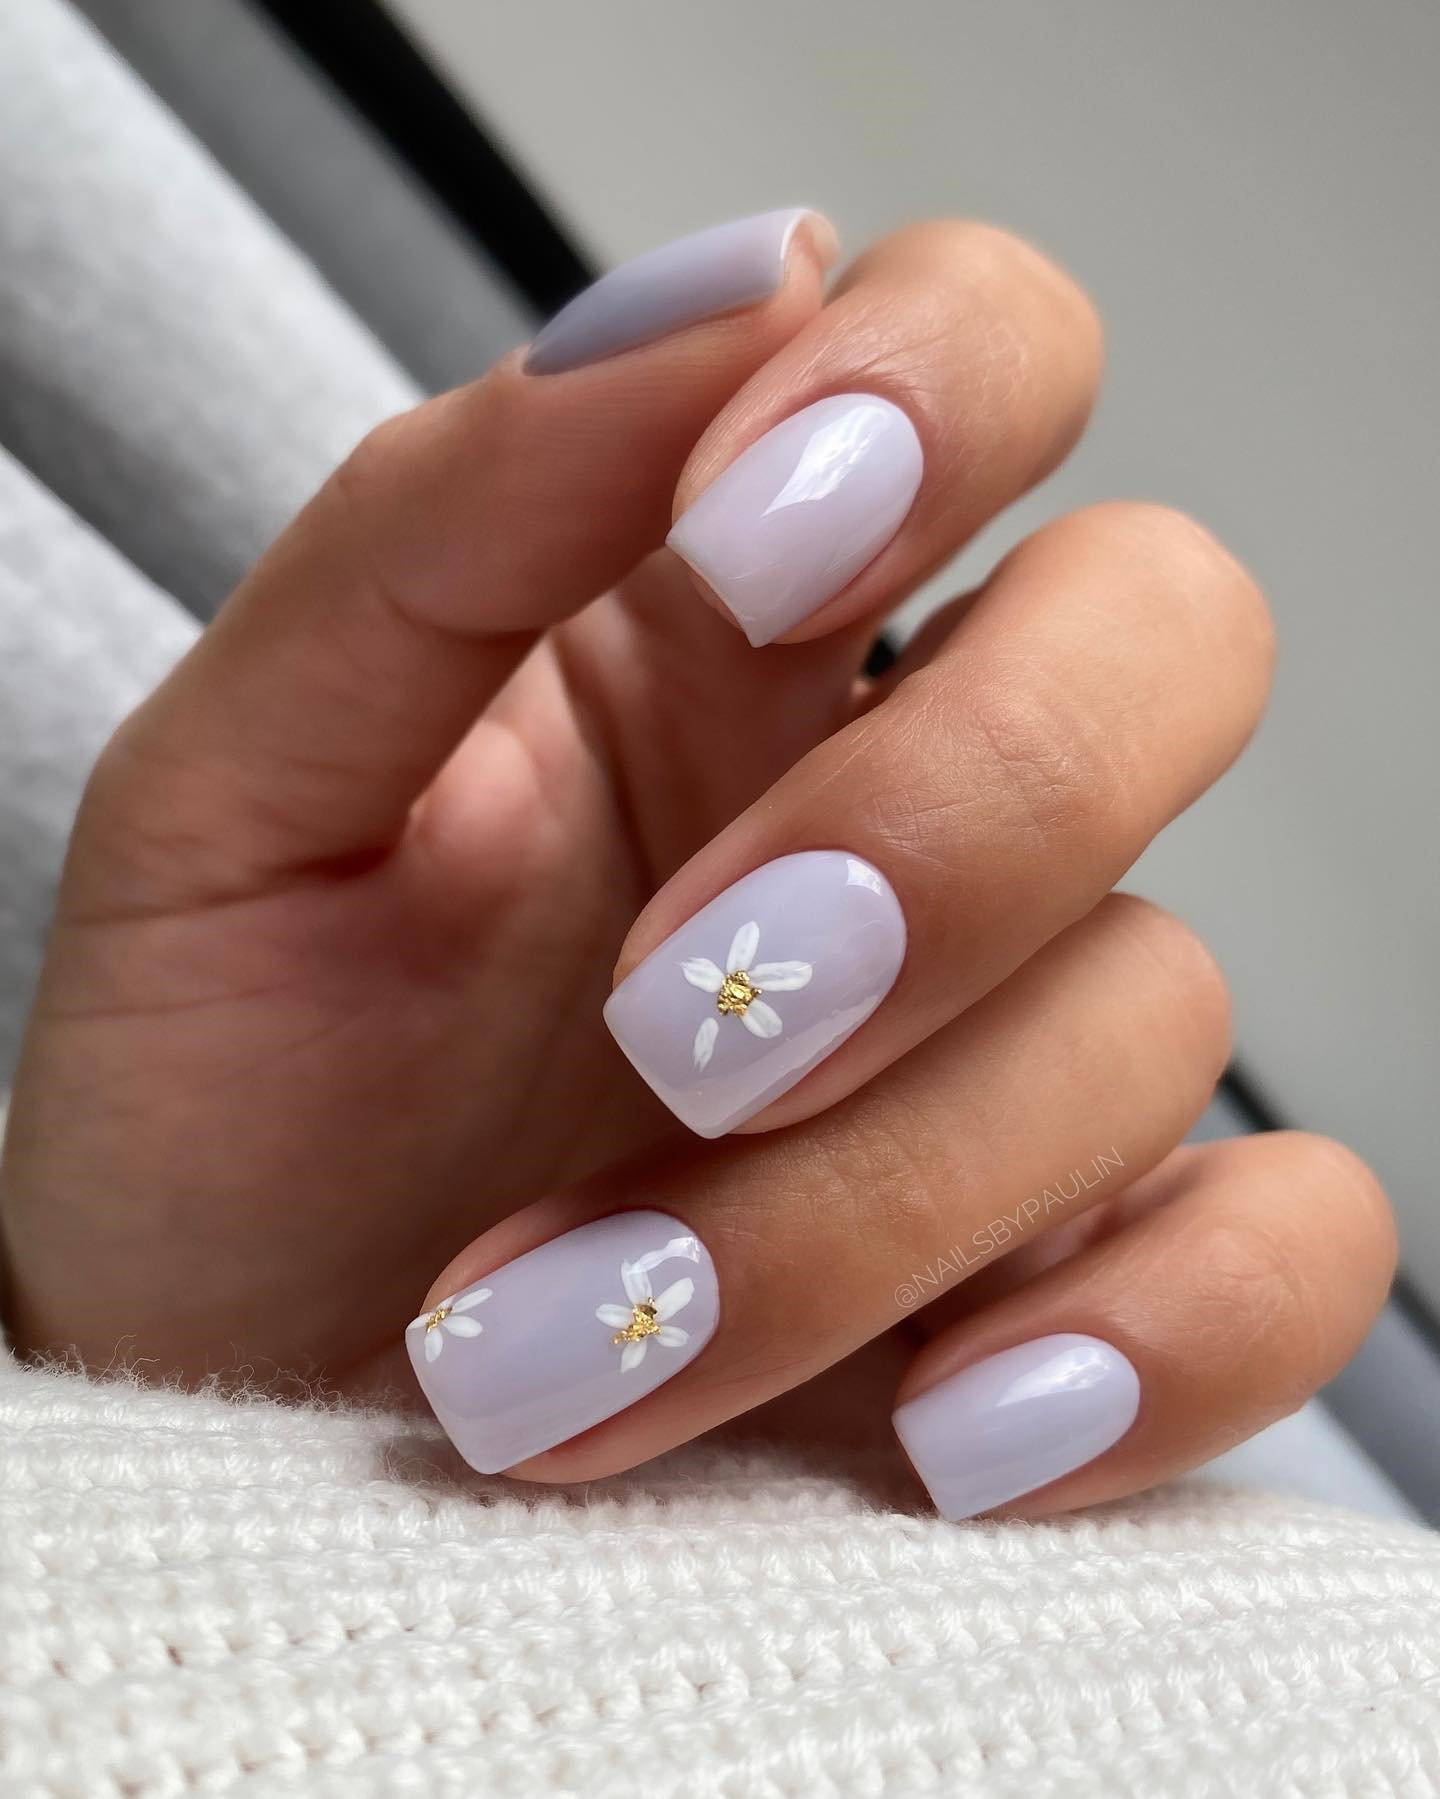
- Floral Patterns: Floral nail art is a classic spring favorite, with intricate designs featuring blooming flowers, leaves, and branches. You can choose from a variety of flower shapes, sizes, and colors to create a unique and eye-catching design.
- Geometric Shapes: Geometric patterns, such as chevrons, stripes, and polka dots, are also trending this spring. These shapes can be used to create a bold and modern look, or paired with floral patterns for a more whimsical design.
- Ombre Nails: Ombre nails, which feature a gradual transition from one color to another, are another popular trend this season. This technique can be used to create a stunning and eye-catching effect, especially when paired with pastel colors.
Easy and Cute Spring Nail Design Ideas
If you’re new to nail art or short on time, don’t worry! We’ve got some easy and cute spring nail design ideas that can be achieved with minimal effort and practice. Here are a few of our favorites:
- Simple Pastel Stripes: Paint horizontal or vertical stripes in pastel shades, using a nail polish brush or a nail art brush. You can also add a thin white or clear coat to separate the colors.
- Floral Accent Nail: Paint a small floral pattern on one nail, such as a tiny flower or a sprig of leaves. This is a great way to add a pop of color and personality to your nail design.
- Spring-themed Stickers: Use nail stickers or stamps featuring spring-themed designs, such as flowers, butterflies, or bees. These are a great shortcut for creating intricate designs without the need for painting.
- Polka Dot Nails: Create a playful and whimsical look by painting small polka dots in pastel shades. You can use a nail dotting tool or a toothpick to create the dots.

Step-by-Step Tutorial: Spring Floral Nail Art
If you’re feeling more adventurous, why not try creating a beautiful spring floral nail design? Here’s a step-by-step tutorial to guide you through the process:
Materials Needed:
- Nail polish in pastel shades (e.g. pink, blue, yellow, green)
- Nail polish in white or clear
- Nail art brush
- Dotting tool or toothpick
- Nail stickers or stamps (optional)

Step 1: Prep the Nails
- Apply a base coat to each nail to protect the nail and promote polish adhesion.
- Choose a pastel shade and paint a thin layer on each nail, using a nail polish brush. Allow the polish to dry completely.
Step 2: Create the Floral Pattern
- Using a nail art brush, paint a small flower or sprig of leaves on each nail. You can use a dotting tool or a toothpick to create the center of the flower.
- Vary the size and shape of the flowers to create a natural, whimsical look.
Step 3: Add Details and Shading
- Use a smaller nail art brush to add details, such as the flower stems or leaves.
- Add shading to the flowers by painting a thin layer of darker polish in the center of each petal.
Step 4: Seal with a Top Coat
- Apply a top coat to each nail to seal in the design and add shine.
- If desired, add a few dots of glitter or rhinestones to the center of each flower for extra sparkle.
Tips and Tricks
- To create a more subtle and natural look, use a light hand when painting the floral pattern.
- Experiment with different pastel shades and color combinations to create a unique and personalized design.
- Don’t be afraid to make mistakes – they can often lead to new and exciting design ideas!
- Practice, practice, practice! The more you practice, the better your nail art skills will become.
Conclusion
With these easy and cute spring nail design ideas and the step-by-step tutorial, you’re ready to create your own beautiful and unique spring nail art. Whether you’re a seasoned pro or a nail art newbie, the key to achieving stunning spring nails is to have fun and be creative. Don’t be afraid to experiment with different colors, patterns, and techniques, and don’t worry if your design isn’t perfect – it’s all about embracing the beauty of imperfection and celebrating the arrival of a new season. So go ahead, get creative, and show off your spring style with confidence and flair!


