“How to do colorful spring nails at home?
One of the best ways to get into the spring spirit is to give your nails a colorful makeover. In this article, we’ll show you how to create beautiful and colorful spring nails at home, using a few simple tools and techniques.

Materials Needed
To get started, you’ll need a few basic nail care tools and supplies. These include:
- Nail polish remover
- Nail clippers
- Nail file
- Cuticle pusher
- Cuticle oil
- Base coat
- Nail polish (choose your favorite spring colors)
- Top coat
- Nail art brushes (optional)
- Nail stickers or guides (optional)

Preparation
Before you begin painting your nails, it’s essential to prepare them properly. This involves removing any old nail polish, trimming and shaping your nails, and pushing back your cuticles.
- Remove old nail polish: Use a nail polish remover to take off any existing polish from your nails. This will help ensure that your new polish adheres properly and prevents any staining.
- Trim and shape your nails: Use nail clippers to trim your nails to your desired length. Then, use a nail file to shape them into your desired shape.
- Push back your cuticles: Soak your fingers in a bowl of warm water for a few minutes to soften your cuticles. Then, use a cuticle pusher to gently push back your cuticles.

Step 1: Apply a Base Coat
Once your nails are prepared, it’s time to start painting. The first step is to apply a base coat to each of your nails. A base coat helps protect your nails and create a smooth surface for your polish to adhere to.
- Apply a thin layer: Use a base coat polish and apply a thin layer to each of your nails. Make sure to cover the entire nail surface, but don’t overload the brush with too much polish.
- Let it dry: Allow the base coat to dry completely before moving on to the next step. This should take about 30 seconds to 1 minute.
Step 2: Choose Your Spring Colors
Now it’s time to choose the colors you want to use for your spring nails. You can choose one color or multiple colors, depending on the design you want to create.
Some popular spring nail color trends include:
- Pastel shades: Soft pink, baby blue, and mint green are all popular pastel shades for spring.
- Bright and bold: If you want to make a statement, try using bright and bold colors like coral, yellow, or orange.
- Neutral shades: If you prefer a more subtle look, try using neutral shades like beige, white, or pale gray.
Step 3: Paint Your Nails
Once you’ve chosen your colors, it’s time to start painting. Use a nail polish brush to apply a thin layer of polish to each of your nails.
- Start with a thin layer: Apply a thin layer of polish to each nail, making sure to cover the entire surface.
- Let it dry: Allow the first layer to dry completely before applying a second layer.
- Apply multiple layers: Depending on the color you’re using, you may need to apply multiple layers of polish to achieve the desired color.
Step 4: Add a Top Coat
Once you’ve finished painting your nails, it’s time to add a top coat. A top coat helps seal in your polish and add shine to your nails.
- Apply a thin layer: Use a top coat polish and apply a thin layer to each of your nails.
- Let it dry: Allow the top coat to dry completely before handling your nails.
Nail Art Options
If you want to take your spring nails to the next level, consider adding some nail art. Nail art can be as simple or as complicated as you like, depending on your skill level and the design you want to create.
Some popular nail art options for spring include:
- Floral patterns: Use a nail art brush to paint on floral patterns, such as daisies or tulips.
- Stripes: Use nail tape or stickers to create stripes on your nails.
- Polka dots: Use a dotting tool or a nail art brush to create polka dots on your nails.
Tips and Tricks
Here are a few tips and tricks to keep in mind when creating your spring nails:
- Use a nail polish with a built-in top coat: Some nail polishes have a built-in top coat, which can save you time and effort.
- Clean up as you go: Use a cotton swab or a nail polish remover to clean up any mistakes or smudges as you go.
- Don’t overload the brush: Make sure to wipe off any excess polish from the brush before applying it to your nails.
- Practice makes perfect: Don’t be discouraged if your first attempts at creating spring nails don’t turn out perfectly. Practice makes perfect, so keep trying until you get the look you want.
Common Mistakes to Avoid
Here are a few common mistakes to avoid when creating your spring nails:
- Applying too much polish: This can lead to a thick, gloopy finish that’s difficult to work with.
- Not letting the polish dry: This can lead to smudges and smears, which can ruin the look of your nails.
- Not using a base coat: This can lead to staining and damage to your nails.
Conclusion
Creating colorful spring nails at home is easy and fun, with a few simple tools and techniques. By following the steps outlined in this article, you can create beautiful and vibrant nails that are perfect for the spring season. Remember to choose a color that you love, and don’t be afraid to experiment with different nail art options. With a little practice and patience, you can create stunning spring nails that will make you feel confident and beautiful.
Spring Nail Inspiration
If you’re looking for inspiration for your spring nails, here are a few ideas to get you started:
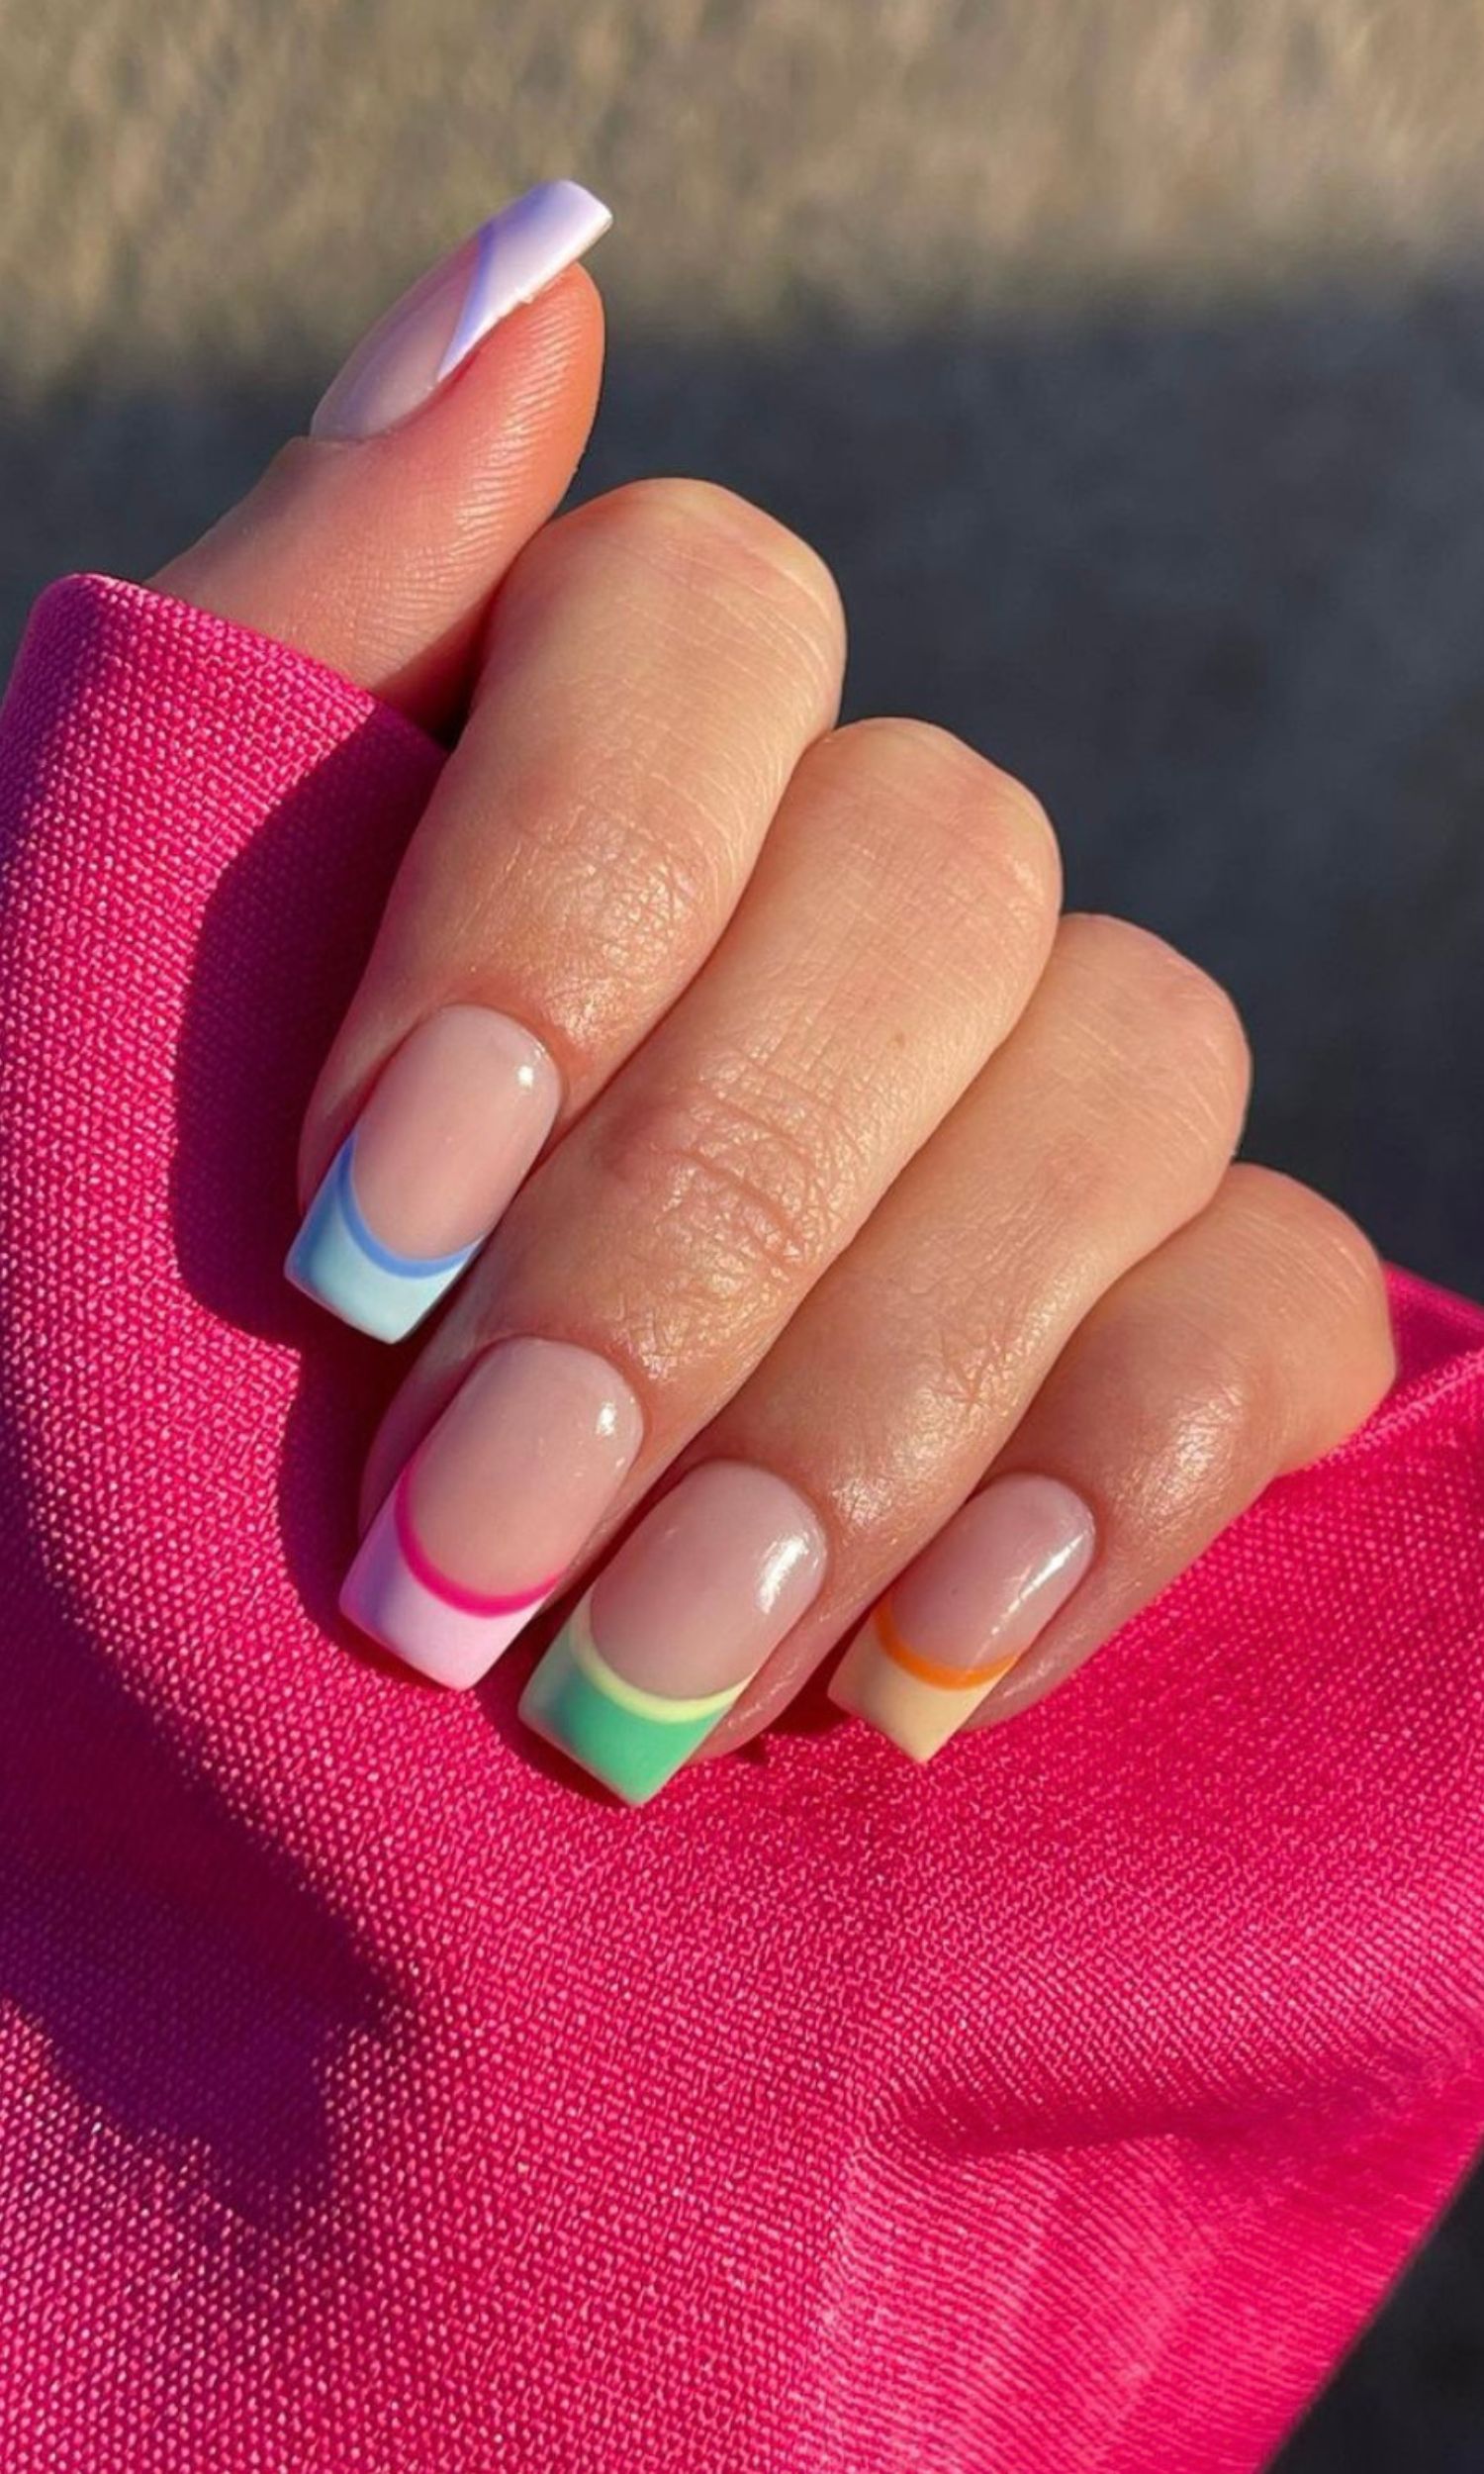
- Pastel rainbow: Create a pastel rainbow effect by painting each of your nails a different pastel shade.
- Floral accents: Use nail art to add floral accents to your nails, such as daisies or tulips.
- Bright and bold: Create a bold and bright look by using a single bright color, such as coral or yellow.
- Neutral with a pop of color: Create a neutral look with a pop of color by using a neutral shade as the base color and adding a bright color as an accent.
Taking Care of Your Nails
Once you’ve created your spring nails, it’s essential to take care of them to keep them looking their best. Here are a few tips:
- Moisturize your cuticles: Use a cuticle oil to keep your cuticles hydrated and healthy.
- Avoid using your nails as tools: Try to avoid using your nails as tools, such as opening packages or picking at things.
- Don’t bite or pick at your nails: This can lead to damage and breakage, which can be difficult to repair.
- Get regular manicures: Consider getting regular manicures to keep your nails looking their best.
By following these tips and tricks, you can create beautiful and colorful spring nails that will make you feel confident and beautiful. Happy painting!


