“How to do colorful spring nails at home?
One of the best ways to get into the spirit of the season is to give your nails a fresh new look. In this article, we’ll show you how to create beautiful, colorful spring nails at home. With a few simple steps and some basic nail care tools, you can achieve salon-quality results without breaking the bank.

Gather Your Supplies
Before you start, make sure you have all the necessary supplies within arm’s reach. You’ll need:
- A nail polish remover to take off any existing polish
- A nail file to shape your nails
- A buffer to smooth out ridges
- A base coat to protect your nails
- A selection of spring-inspired nail polishes (we’ll get to those in a minute)
- A top coat to seal it all in
- A nail art brush (optional)
- Cuticle oil and a cuticle pusher (optional)

Choose Your Spring Colors
Spring is all about fresh, vibrant colors, so don’t be afraid to get creative with your polish choices. Here are some popular spring nail colors to consider:
- Pastel pinks and blues
- Bright corals and yellows
- Minty greens and creamy whites
- Soft peaches and lavenders

You can choose one color or get creative with a multi-colored design. If you’re feeling inspired, try a nail art design featuring flowers, leaves, or other spring-inspired motifs.
Prep Your Nails
Before you start painting, make sure your nails are clean and dry. Remove any existing polish with a nail polish remover and wash your hands to get rid of any oils or lotions. Use a nail file to shape your nails to your desired shape, and then buff them to smooth out any ridges.
Apply a Base Coat
A base coat is essential for protecting your nails from staining and promoting polish adhesion. Apply a thin layer of clear base coat to each nail, making sure to cover the entire surface. Let it dry completely before moving on to the next step.
Paint Your Nails
Now it’s time to get creative! Apply a thin layer of your chosen polish color to each nail, starting at the center and working your way out towards the tips. Make sure to cover the entire surface, but don’t overload the brush with too much polish. You can always do multiple thin coats to achieve the desired color.
If you’re doing a multi-colored design, use a nail art brush to paint on your design. You can use a dotting tool or a toothpick to create small details like dots or lines.
Add a Top Coat
Once your polish is dry, apply a thin layer of top coat to seal it all in. This will help prevent chipping and add shine to your nails. Make sure to cover the entire surface, but don’t overload the brush with too much top coat.
Finish with Cuticle Care
Finally, take a few minutes to pamper your cuticles. Apply a cuticle oil to your cuticles and gently push back any excess skin with a cuticle pusher. This will help keep your cuticles healthy and hydrated.
Tips and Tricks
Here are a few tips and tricks to help you achieve salon-quality results at home:
- Use a nail polish with a built-in base coat to save time and streamline your process.
- Apply a thin layer of polish to avoid pooling at the cuticles.
- Use a nail art brush to clean up any mistakes or smudges.
- Apply a top coat every few days to keep your polish looking fresh and shiny.
- Use a nail file to gently shape your nails and prevent breaking.
Spring Nail Art Ideas
If you’re feeling inspired, try one of these spring-themed nail art ideas:
- A floral pattern featuring pastel colors and delicate flowers
- A leafy design with shades of green and neutral tones
- A colorful ombre effect with graduating shades of pink, yellow, and orange
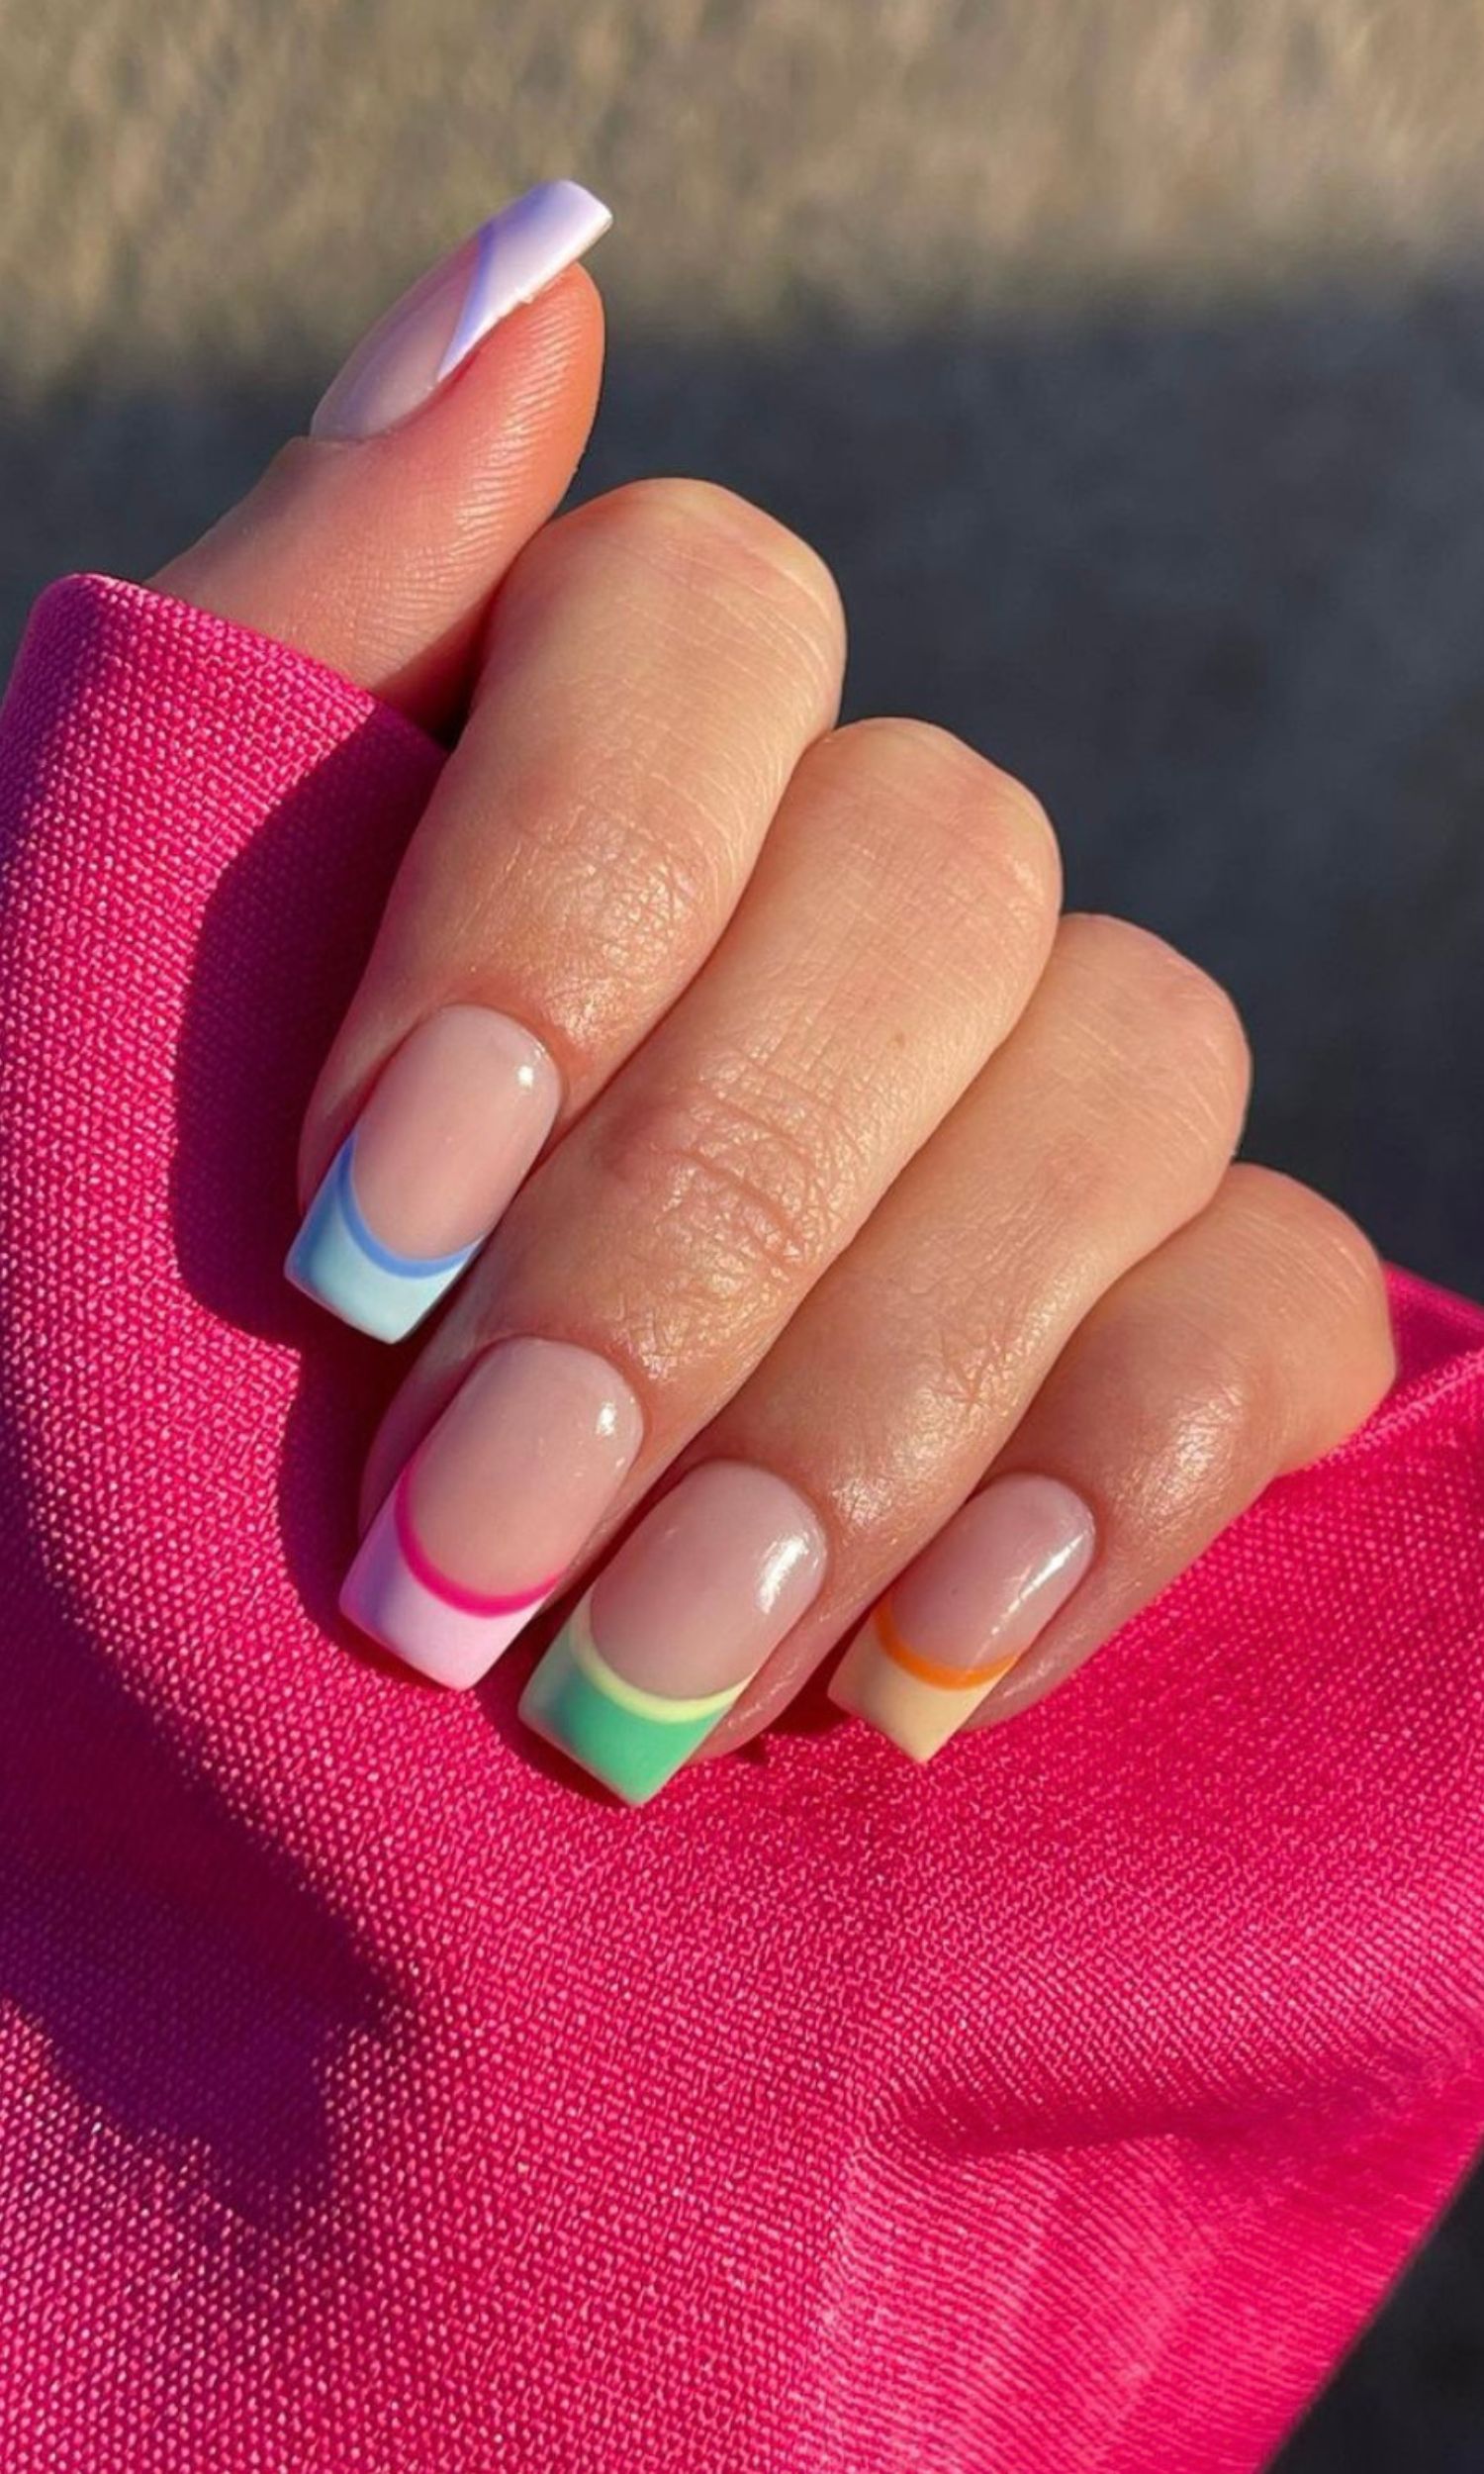
- A simple stripe design with alternating colors like blue and white
- A playful Easter-themed design featuring bunnies, eggs, or other spring motifs
Common Mistakes to Avoid
Here are a few common mistakes to avoid when doing your nails at home:
- Not using a base coat, which can lead to staining and polish adhesion issues
- Applying too much polish at once, which can lead to pooling and uneven coverage
- Not letting each coat dry completely, which can lead to smudges and smears
- Not using a top coat, which can lead to chipping and fading
- Not taking care of your cuticles, which can lead to dryness and irritation
Conclusion
With these simple steps and tips, you can create beautiful, colorful spring nails at home. Remember to take your time, be patient, and have fun with the process. Don’t be afraid to experiment with different colors and designs, and don’t worry if it takes a few tries to get it just right. With practice, you’ll be a pro at doing your own nails in no time!
Additional Tips for Different Nail Types
If you have weak or brittle nails, consider using a nail strengthening base coat to help fortify your nails. You can also use a nail hardener to help strengthen your nails over time.
If you have short nails, consider using a nail glue to attach false nails or nail tips. This can help give you a more polished look and add length to your nails.
If you have curved or uneven nails, consider using a nail file to gently shape your nails and smooth out any ridges. You can also use a nail buffer to help even out the surface of your nails.
Spring Nail Trends
This spring, expect to see a range of colorful and creative nail trends. Some of the hottest trends include:
- Glass nail art, which features a glossy, transparent finish
- Chrome nails, which feature a shiny, metallic finish
- Holographic nails, which feature a 3D, holographic effect
- Abstract nail art, which features bold, geometric shapes and colors
- Negative space nail art, which features a design that incorporates the natural shape of the nail
These trends are all about making a statement and having fun with your nail art. Don’t be afraid to experiment and try out new things – it’s all about self-expression and creativity!
Final Thoughts
Doing your nails at home can be a fun and rewarding experience, especially when you’re working with vibrant spring colors. Remember to take your time, be patient, and have fun with the process. Don’t be afraid to try new things and experiment with different colors and designs. And most importantly, don’t forget to pamper yourself and take care of your nails – they’ll thank you for it! With these tips and tricks, you’ll be well on your way to creating beautiful, colorful spring nails that will make you feel confident and stylish all season long.


