“How to do colorful spring nails at home?
One way to welcome the new season is by giving your nails a fresh and vibrant makeover. Colorful spring nails are the perfect way to add a pop of color to your beauty routine and get into the spirit of the season. In this article, we’ll show you how to do colorful spring nails at home with a step-by-step guide, tips, and tricks to achieve salon-quality results.

Preparation is Key
Before you start, make sure you have all the necessary tools and materials. You’ll need:
- Nail polish remover
- Nail clippers
- Nail file
- Cuticle pusher or orange stick
- Cuticle remover
- Base coat
- Nail polish (choose your favorite spring colors)
- Top coat
- Nail art brushes (optional)
- Nail guides or stickers (optional)

Step 1: Prep Your Nails
The first step to achieving beautiful spring nails is to prep your natural nails. Start by removing any old nail polish with a nail polish remover. Use a lint-free wipe or cotton ball to gently remove the polish, making sure to clean around the cuticles and nail bed.
Next, trim and shape your nails to your desired shape using nail clippers. Be careful not to cut your nails too short, as this can cause pain and irritation.
Use a nail file to smooth out any ridges or imperfections on the surface of your nails. This will help create a smooth canvas for your nail polish.
Step 2: Soak and Push Back Your Cuticles
Soaking your fingers in a bowl of warm water mixed with a tablespoon of olive oil or nail oil can help soften your cuticles. Let your fingers soak for 5-10 minutes, then use a cuticle pusher or orange stick to gently push back your cuticles.

Be careful not to push too hard, as this can cause bleeding or pain. Use a cuticle remover to help loosen any stubborn cuticles.
Step 3: Apply a Base Coat
Applying a base coat is essential to protect your nails and create a smooth surface for your nail polish. Choose a clear or nail strengthening base coat and apply a thin layer to each nail. Make sure to cover the entire nail surface, but avoid getting polish on your cuticles or skin.
Step 4: Choose Your Spring Colors
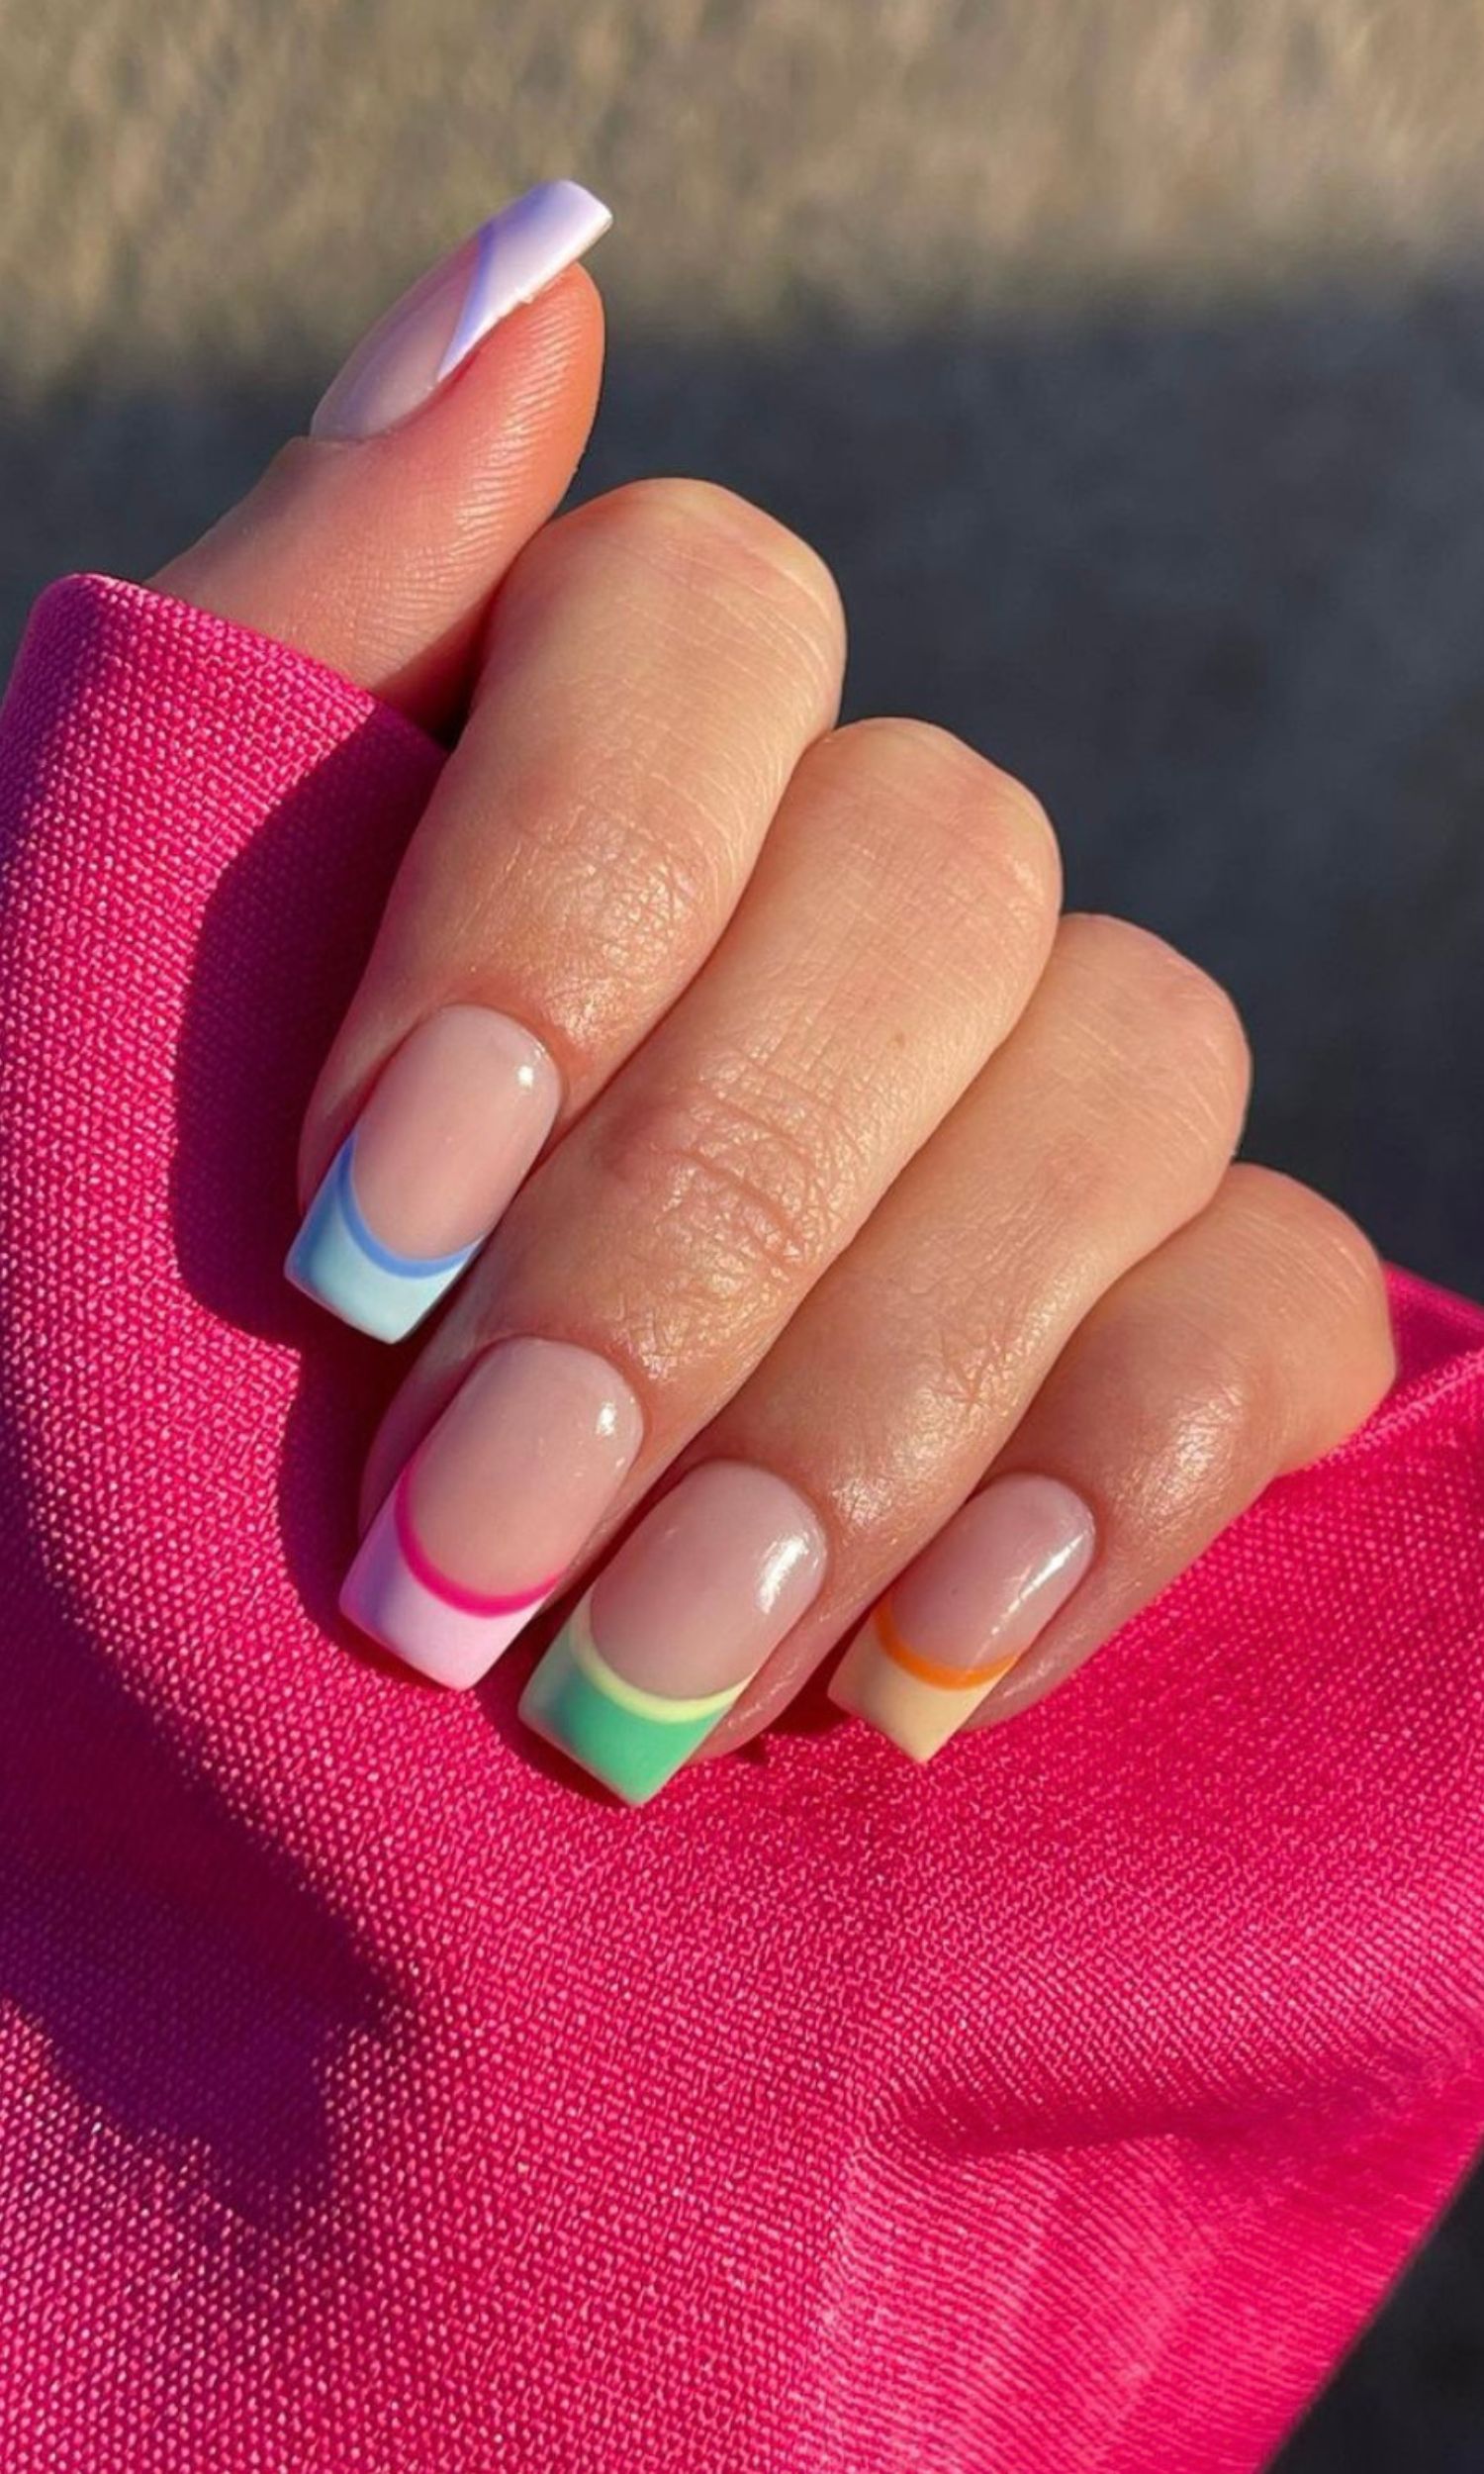
Now it’s time to choose your favorite spring colors! Some popular spring nail colors include:
- Pastel pink
- Baby blue
- Mint green
- Yellow
- Coral
You can choose one color or get creative and try a nail art design using multiple colors. If you’re feeling adventurous, try a bold and bright color to make a statement.
Step 5: Apply Your Nail Polish
Apply a thin layer of nail polish to each nail, starting at the center and working your way out towards the tips. Make sure to cover the entire nail surface, but avoid getting polish on your cuticles or skin.
Use a nail polish brush to paint a smooth and even layer. If you’re using a nail art brush, use it to create intricate designs or patterns.
Step 6: Add a Top Coat
Once your nail polish is dry, apply a thin layer of top coat to seal in your color and add shine. Choose a clear top coat or a glossy finish to make your nails look salon-fresh.
Step 7: Add Nail Art (Optional)
If you’re feeling creative, add some nail art to your design. Use nail art brushes or dotting tools to create intricate patterns or designs. You can also use nail guides or stickers to create straight lines or geometric shapes.
Tips and Tricks
- Use a nail polish with a built-in primer to help your polish last longer.
- Apply a thin layer of polish to avoid streaks and bubbles.
- Use a nail art brush to create intricate designs or patterns.
- Try a nail stamping kit for a more intricate design.
- Use a nail file to clean up any polish that gets on your cuticles or skin.
- Apply a cuticle oil or cream after your manicure to keep your cuticles hydrated and healthy.
Spring Nail Art Ideas
- Floral patterns: Use a mix of pastel colors to create a floral pattern on your nails.
- Stripes: Use a bold and bright color to create horizontal or vertical stripes on your nails.
- Polka dots: Use a small dotting tool to create polka dots on your nails.
- Geometric shapes: Use nail guides or stickers to create geometric shapes, such as triangles or squares.
- Abstract art: Use a mix of colors and techniques to create an abstract art design on your nails.
Common Mistakes to Avoid
- Applying too much polish at once, which can cause streaks and bubbles.
- Not letting each layer dry completely before applying the next layer.
- Not using a base coat, which can cause polish to chip and fade quickly.
- Not using a top coat, which can cause polish to lose its shine and luster.
- Not cleaning up around the cuticles and nail bed, which can cause polish to get on the skin.
Conclusion
With these steps and tips, you can achieve beautiful and colorful spring nails at home. Remember to prep your nails, choose your favorite spring colors, and apply a base coat and top coat to protect your nails and create a smooth finish. Don’t be afraid to get creative and try a nail art design or pattern. With a little practice and patience, you can create salon-quality spring nails that will make you feel confident and beautiful. So go ahead, get creative, and welcome the new season with a fresh and vibrant nail look!
FAQs
Q: What is the best way to remove old nail polish?
A: Use a nail polish remover and a lint-free wipe or cotton ball to gently remove old polish.
Q: How can I prevent my nail polish from chipping?
A: Apply a base coat and top coat, and use a nail polish with a built-in primer.
Q: What is the best way to clean up around the cuticles and nail bed?
A: Use a nail file and a lint-free wipe or cotton ball to gently clean up any polish that gets on the skin.
Q: Can I use nail polish on my toes?
A: Yes, you can use nail polish on your toes. Make sure to prep your toenails in the same way as your fingernails, and use a nail polish that is specifically designed for toenails.
Q: How often should I get a manicure?
A: It’s recommended to get a manicure every 2-3 weeks to keep your nails looking their best. However, you can also do your own manicure at home using the steps and tips outlined in this article.
By following these steps and tips, you can achieve beautiful and colorful spring nails at home. Happy painting!


