“Graceful spring nail art
One of the most delightful ways to welcome the new season is through nail art, and in this article, we’ll explore the world of graceful spring nail art. From soft pastels to bold florals, we’ll dive into the latest trends, techniques, and inspiration to help you create stunning spring-inspired nail designs.

Introduction to Spring Nail Art
Spring is a time of renewal and rejuvenation, and our nails are no exception. As the weather warms up, we shed our dark winter colors and embrace the brighter, more vibrant hues of the season. Spring nail art is all about capturing the essence of the season, with its delicate florals, gentle color palettes, and playful patterns. Whether you’re a seasoned nail art enthusiast or just starting out, there’s never been a better time to experiment with new designs and techniques.
Trends in Spring Nail Art
So, what’s hot in spring nail art this season? Here are some of the top trends to watch:
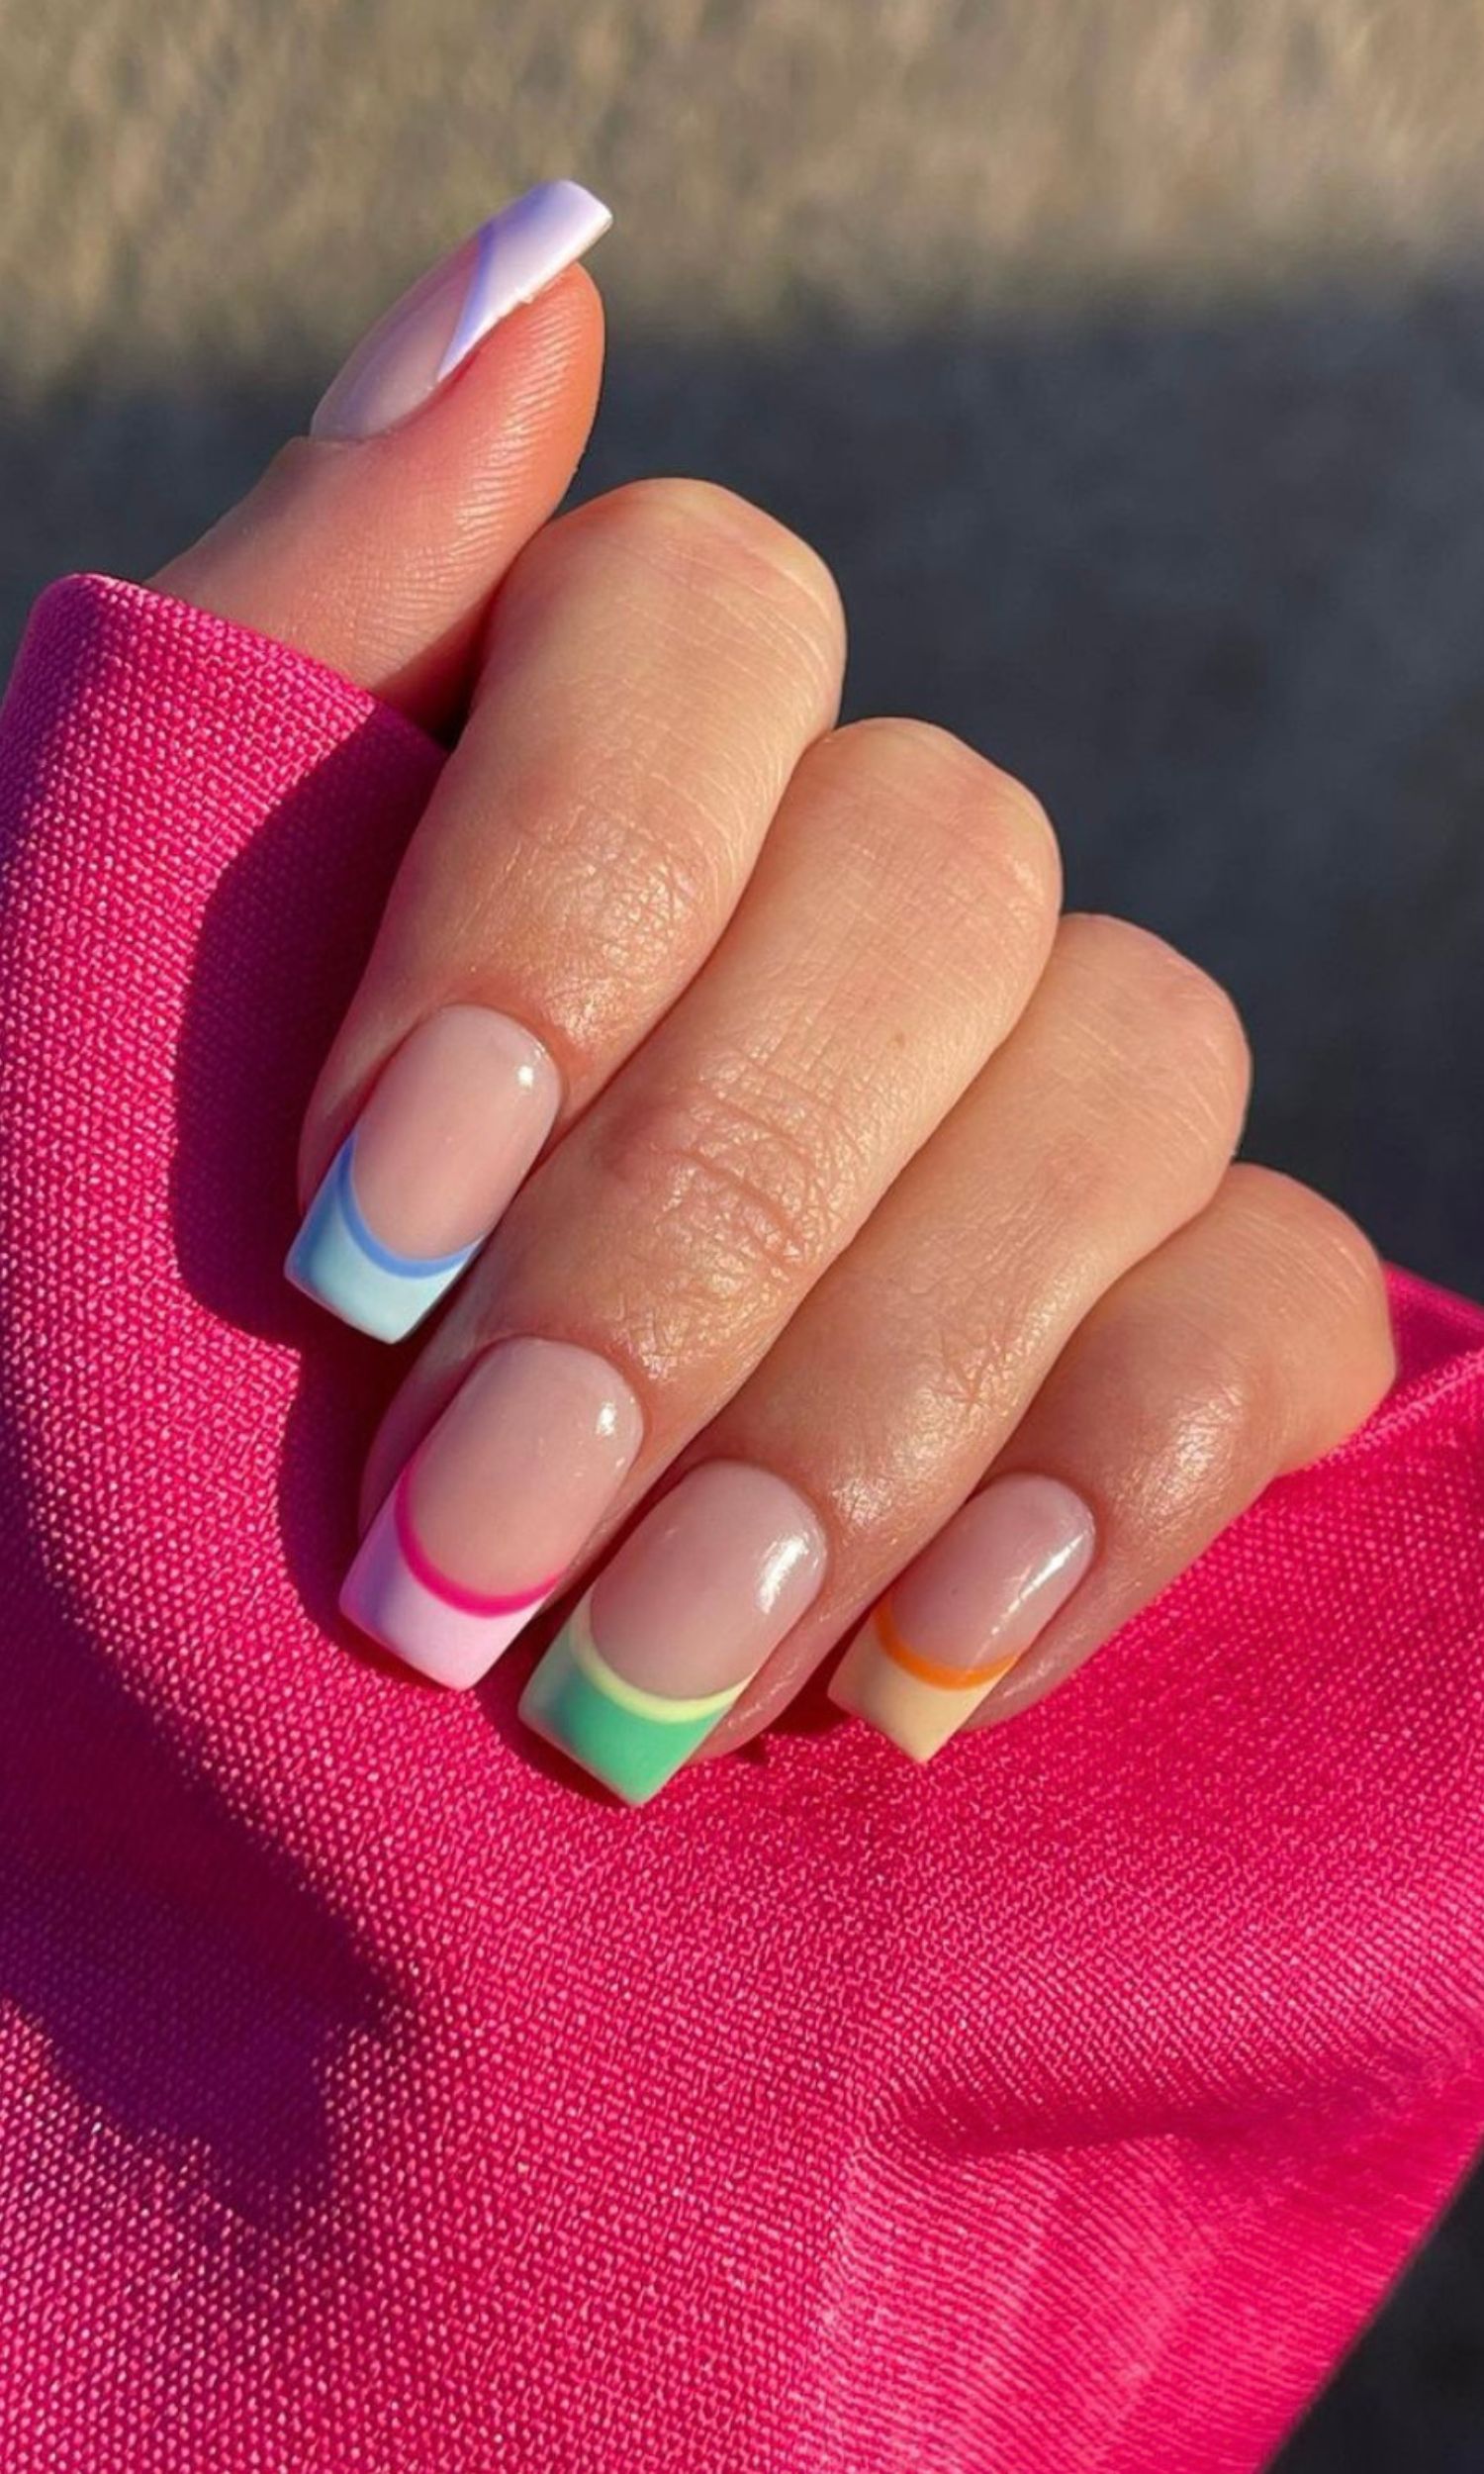
- Pastel Colors: Soft, sugary pastels are a staple of spring nail art. From pale pink to baby blue, these delicate hues are perfect for creating a soft, feminine look.
- Floral Patterns: Spring is all about blooms, and floral patterns are a big part of the season’s nail art trend. From dainty cherry blossoms to bold sunflowers, there’s a floral design to suit every style.
- Metallic Accents: Add a touch of glamour to your spring nail art with metallic accents. Rose gold, silver, and gold are all popular choices for adding a sleek, sophisticated finish to your designs.
- Ombre Effects: Ombre nails are a great way to create a gradient effect that’s perfect for spring. Gradually transition from one color to another to create a beautiful, multi-dimensional look.
- Negative Space: Negative space nail art is all about creating a design that’s just as much about what’s not there as what is. Use a light hand and a steady touch to create intricate, lace-like patterns.

Techniques for Creating Spring Nail Art
Now that we’ve explored the latest trends, it’s time to get creative! Here are some essential techniques for creating beautiful spring nail art:
- Stamping: Stamping is a great way to add intricate patterns to your nails. Use a nail stamping plate and a special stamper to pick up and transfer intricate designs onto your nails.
- Dotting: Dotting is a simple yet effective way to create intricate patterns. Use a dotting tool or a toothpick to create small dots in a variety of colors.
- Brushwork: Brushwork is all about using a nail art brush to create freehand designs. From bold stripes to delicate florals, a steady hand and a good brush can work wonders.
- Taping: Taping is a great way to create crisp, clean lines and geometric patterns. Use nail tape to section off areas of your nail and create a variety of designs.
- Sponging: Sponging is a fun and easy way to create ombre effects and textured finishes. Use a makeup sponge to apply polish and create a unique, mottled effect.

Inspiration for Spring Nail Art
Need some inspiration for your spring nail art? Here are a few ideas to get you started:
- Nature: Nature is the ultimate source of inspiration for spring nail art. Take a walk outside and observe the blooms, the colors, and the patterns that surround you.
- Fashion: Fashion is a great way to stay on top of the latest nail art trends. Check out the latest runway shows and fashion magazines for inspiration.
- Social Media: Social media platforms like Instagram and Pinterest are goldmines for nail art inspiration. Follow your favorite nail artists and get inspired by their creations.
- Seasonal Colors: Don’t be afraid to get creative with seasonal colors. From pastel pink to sunshine yellow, there’s a whole rainbow of hues to explore.
- Personal Style: Your personal style is a great way to express yourself through nail art. Whether you’re a fan of bold and bright or soft and subtle, there’s a spring nail art design to suit your unique taste.
Spring Nail Art Designs to Try
Now that we’ve explored the trends, techniques, and inspiration, it’s time to get creative! Here are a few spring nail art designs to try:
- Cherry Blossom Nails: Create a beautiful cherry blossom design using pink and white polish, and a dotting tool.
- Pastel Ombre: Gradually transition from one pastel color to another to create a stunning ombre effect.
- Floral Accent Nail: Create a bold floral design on one nail, and pair it with a simple, solid-colored base coat on the rest of your nails.
- Negative Space Florals: Use negative space to create a delicate floral pattern, with intricate details and soft colors.
- Metallic Leaf Nails: Add a touch of glamour to your spring nail art with metallic leaf accents, paired with a soft pastel base coat.
Tips and Tricks
Before you start creating your spring nail art, here are a few tips and tricks to keep in mind:
- Prep your nails: Make sure your nails are clean and dry before applying polish.
- Use a base coat: A good base coat can help extend the life of your nail art and prevent staining.
- Work in thin layers: Thin layers of polish are easier to control and less likely to pool or streak.
- Use a nail art brush: Invest in a good quality nail art brush for precise control and clean lines.
- Practice makes perfect: Don’t be discouraged if your first attempts at spring nail art don’t turn out as expected. Practice makes perfect, and it’s all part of the process.
Conclusion
Graceful spring nail art is all about capturing the essence of the season, with its delicate colors, playful patterns, and vibrant florals. Whether you’re a seasoned nail art enthusiast or just starting out, there’s never been a better time to experiment with new designs and techniques. From soft pastels to bold metallic accents, the possibilities are endless. So, get creative, have fun, and happy nail art-ing!


