“Graceful spring nail art
The season of blooming flowers, warm sunshine, and gentle breezes is the perfect time to refresh your nail art and embrace the vibrant colors and delicate patterns that define spring. In this article, we’ll delve into the world of spring nail art, exploring the latest trends, techniques, and inspiration to help you create stunning, graceful nail designs that capture the essence of the season.

Spring Nail Art Trends
This spring, nail art is all about embracing soft, pastel hues, delicate florals, and playful patterns. Some of the top trends include:
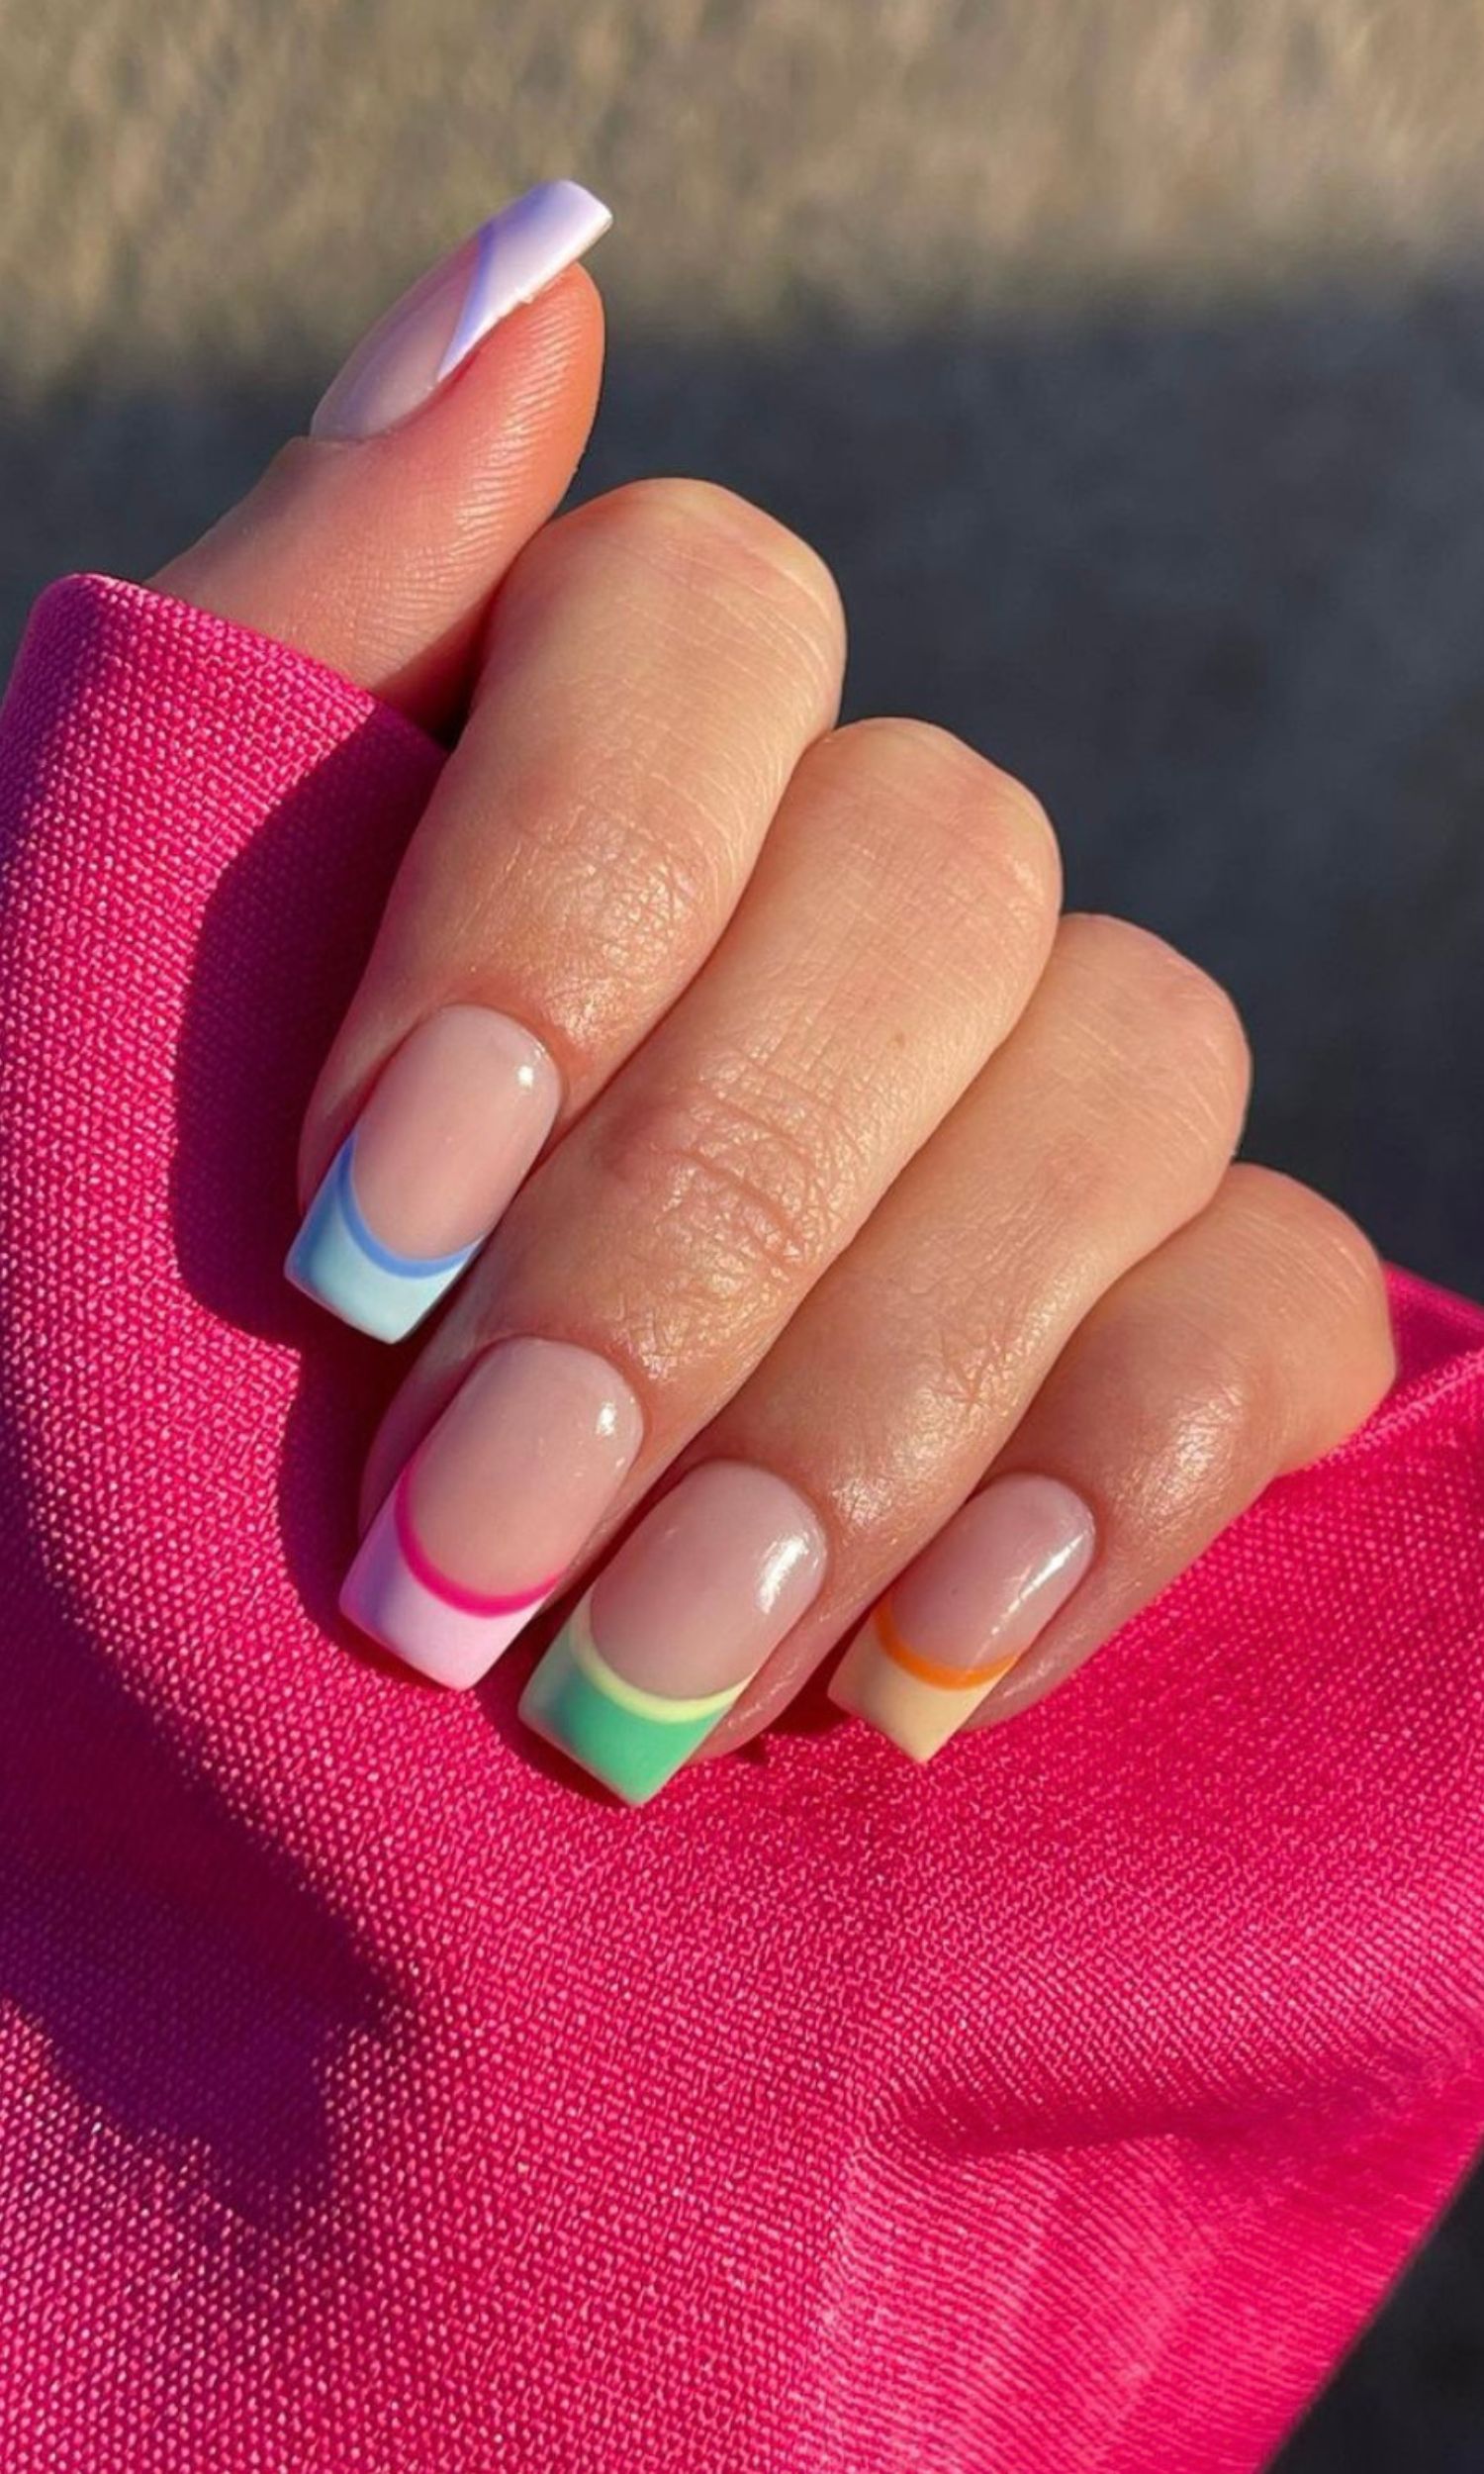
- Pastel Paradise: Soft, calming shades of pink, blue, yellow, and mint green are dominating the nail art scene this spring. These gentle colors are perfect for creating a soft, romantic look that’s ideal for the season.
- Floral Fantasy: Spring is the season of blooming flowers, and nail art is no exception. Delicate floral patterns, from tiny daisies to bold peonies, are a staple of spring nail art.
- Geometric Patterns: Geometric patterns, such as chevrons and hexagons, are a great way to add visual interest to your nail art. This spring, try pairing bold geometric patterns with soft pastel colors for a unique, eye-catching look.
- Negative Space: Negative space nail art is a great way to create a clean, minimalist look that’s perfect for spring. By leaving some areas of the nail bare, you can create a stunning, modern design that’s both elegant and understated.
Techniques for Achieving Graceful Spring Nail Art
To create beautiful, graceful spring nail art, you’ll need to master a few key techniques. Here are some tips to get you started:

- Stamping: Stamping is a great way to create intricate, detailed patterns on your nails. Use a nail stamping kit to create delicate florals, geometric patterns, or other designs.
- Freehand Painting: Freehand painting is a great way to add a personal touch to your nail art. Use a small brush and a steady hand to create delicate designs, from tiny flowers to intricate patterns.
- Nail Guides: Nail guides are a great way to create crisp, clean lines and patterns on your nails. Use nail guides to create geometric patterns, stripes, or other designs.
- Layering: Layering is a great way to add depth and dimension to your nail art. Use a combination of nail polish, glitter, and other materials to create a multi-dimensional look.
Inspiration for Spring Nail Art
If you’re looking for inspiration for your spring nail art, here are a few ideas to get you started:
- Nature: Nature is a great source of inspiration for spring nail art. Look to blooming flowers, greenery, and sunny skies for ideas.
- Fashion: Spring fashion is all about bright colors, playful patterns, and delicate fabrics. Take inspiration from the latest fashion trends to create a stylish, on-trend nail look.
- Art: Art is a great source of inspiration for nail art. Look to the works of famous artists, such as Monet or Van Gogh, for ideas on color palettes, patterns, and techniques.
- Culture: Cultural festivals and celebrations, such as Easter or Chinese New Year, are a great source of inspiration for spring nail art. Look to traditional patterns, colors, and motifs for ideas.

Step-by-Step Guide to Creating a Spring Floral Nail Art Design
Here’s a step-by-step guide to creating a beautiful spring floral nail art design:
Materials needed:
- Nail polish in pastel shades (pink, blue, yellow, and mint green)
- Nail art brushes (small and medium)
- Nail guides
- Nail stamping kit (optional)
- Top coat
Step 1: Prep the nail
Apply a base coat to the nail to protect it and create a smooth surface for painting.
Step 2: Create the background
Use a small nail art brush to paint a soft, pastel pink background on the nail. You can use a nail guide to create a crisp, clean line.
Step 3: Add the flowers
Use a small nail art brush to paint tiny flowers in white, yellow, and blue on the nail. You can use a nail stamping kit to create intricate, detailed patterns.
Step 4: Add the leaves
Use a medium nail art brush to paint delicate leaves in green on the nail. You can use a nail guide to create a crisp, clean line.
Step 5: Add the details
Use a small nail art brush to add details to the flowers and leaves, such as centers and veins.
Step 6: Finish with top coat
Apply a top coat to the nail to seal in the design and add shine.
Tips and Tricks for Spring Nail Art
Here are a few tips and tricks to keep in mind when creating spring nail art:
- Keep it simple: Spring nail art is all about delicate, understated designs. Avoid cluttering the nail with too many patterns or colors.
- Use pastel colors: Pastel colors are a staple of spring nail art. Use soft, calming shades to create a romantic, elegant look.
- Experiment with textures: Spring is a great time to experiment with different textures, such as glitter, holographic, or chrome.
- Don’t forget the finishing touches: A good top coat can make all the difference in the world. Use a high-quality top coat to seal in the design and add shine.
Conclusion
Spring is a time of renewal and rejuvenation, and what better way to refresh your look than with a beautiful, graceful spring nail art design? From pastel hues to delicate florals, there are countless ways to capture the essence of the season on your nails. With the techniques, inspiration, and tips outlined in this article, you’ll be well on your way to creating stunning, on-trend nail art that’s sure to turn heads. So go ahead, get creative, and let the beauty of spring shine through on your nails!


