“How to do colorful spring nails at home?
One of the best ways to welcome the new season is by giving your nails a colorful makeover. In this article, we’ll show you how to create beautiful, colorful spring nails at home with a few simple steps and some basic nail care tools.

Preparation is Key
Before you start, it’s essential to prepare your nails for the new season. Begin by removing any old nail polish and pushing back your cuticles. Soak your hands in a bowl of warm water mixed with a tablespoon of olive oil and a squeeze of lemon juice to soften your cuticles and moisturize your nails. Use a cuticle pusher or an orange stick to gently push back your cuticles, taking care not to push too hard and cause bleeding.
Next, use a nail file to shape your nails into the desired shape. For a spring-inspired look, consider a shorter, rounder nail shape that’s perfect for showing off bright, bold colors. Use a buffer to smooth out any ridges or imperfections on the surface of your nails, and finish off with a base coat to protect your nails and create a smooth surface for your polish.
Choosing the Right Colors
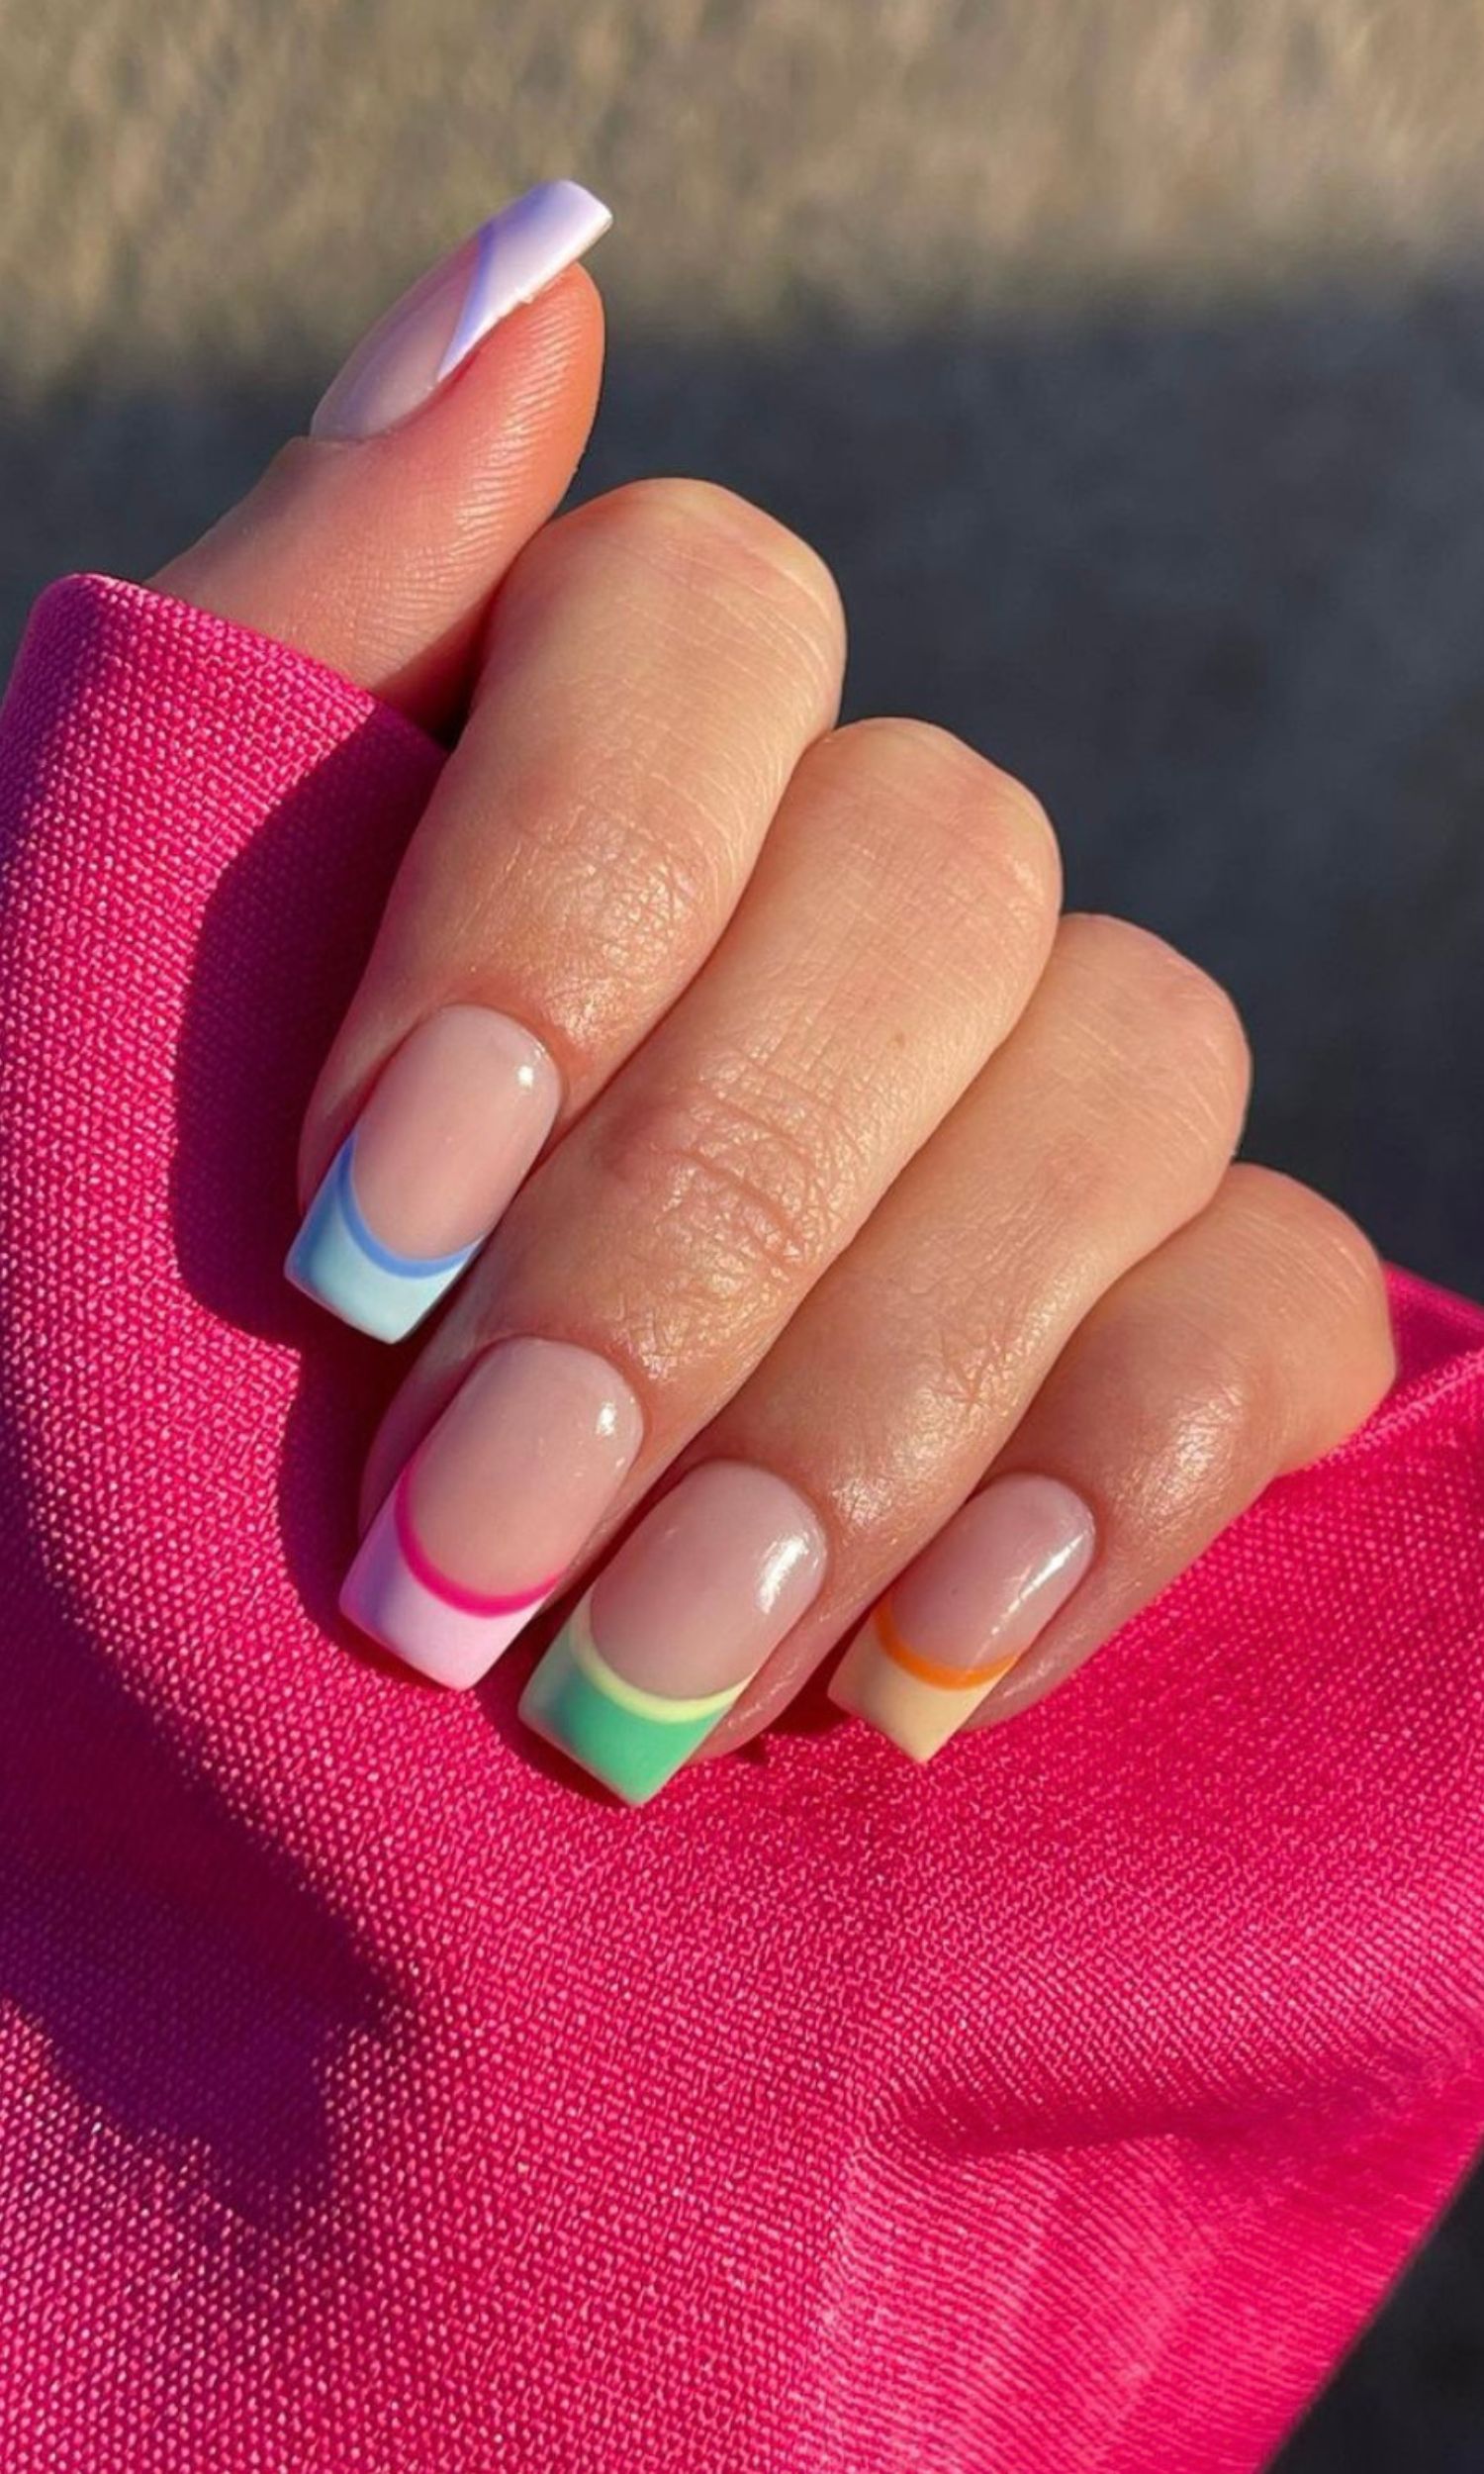
Spring is all about bright, bold colors, so don’t be afraid to experiment with different shades and combinations. Some popular spring-inspired colors include:
- Pastel pink and baby blue
- Mint green and coral
- Yellow and orange
- Lavender and peach

Consider pairing two or three colors together to create a unique and eye-catching look. You can also use nail art stickers or stamps to add fun designs and patterns to your nails.
Applying the Polish
Once you’ve chosen your colors, it’s time to start applying the polish. Begin by applying a thin layer of clear base coat to each nail, making sure to cover the entire surface. This will help protect your nails and create a smooth surface for your polish.
Next, apply a thin layer of your chosen polish color to each nail, starting at the center and working your way out towards the tips. Use smooth, even strokes to cover the entire surface of your nail, taking care not to get any polish on your cuticles or skin.
Adding a Second Coat
If you want to achieve a more vibrant, opaque color, you can apply a second coat of polish. Make sure to let the first coat dry completely before applying the second coat, and use the same smooth, even strokes as before.
Finishing Touches
Once you’ve applied your polish, it’s time to add some finishing touches to your look. Use a top coat to seal in your polish and add a glossy finish. You can also use a nail art brush to add fun designs and patterns to your nails, such as stripes, dots, or flowers.
Nail Art Ideas

If you want to take your spring nail look to the next level, consider trying some fun nail art ideas. Here are a few ideas to get you started:
- Floral pattern: Use a nail art brush to paint a delicate floral pattern on each nail, using a combination of pastel colors and bold lines.
- Stripes: Use a nail art brush to paint horizontal or vertical stripes on each nail, using a combination of bright, bold colors.
- Polka dots: Use a dotting tool or a nail art brush to create fun, playful polka dots on each nail, using a combination of pastel colors and bold dots.
- Butterfly design: Use a nail art brush to paint a delicate butterfly design on each nail, using a combination of pastel colors and bold lines.
Tips and Tricks
Here are a few tips and tricks to keep in mind when creating your colorful spring nails at home:
- Use a nail polish remover: Before applying new polish, make sure to remove any old polish using a nail polish remover. This will help prevent staining and ensure a smooth, even finish.
- Choose the right brush: Use a high-quality nail polish brush that’s designed for the type of polish you’re using. This will help you achieve a smooth, even finish and prevent streaks and brush marks.
- Don’t overload the brush: Load the brush with just the right amount of polish, and wipe off any excess polish on the rim of the bottle. This will help prevent a thick, gloopy finish and ensure a smooth, even coat.
- Use a base coat and top coat: Using a base coat and top coat can help extend the wear of your polish and prevent chipping and fading.
Common Mistakes to Avoid
Here are a few common mistakes to avoid when creating your colorful spring nails at home:
- Applying too much polish: Applying too much polish can lead to a thick, gloopy finish that’s prone to chipping and fading.
- Not letting the polish dry: Failing to let the polish dry completely between coats can lead to a streaky, uneven finish.
- Not using a base coat: Failing to use a base coat can lead to staining and discoloration of your nails.
- Not using a top coat: Failing to use a top coat can lead to chipping and fading of your polish.
Conclusion
Creating colorful spring nails at home is easier than you think, with a few simple steps and some basic nail care tools. By following the tips and tricks outlined in this article, you can achieve a beautiful, vibrant look that’s perfect for the new season. Whether you’re a seasoned nail art pro or a beginner, with a little practice and patience, you can create stunning, colorful spring nails that are sure to turn heads. So why not give it a try and welcome the new season in style?


