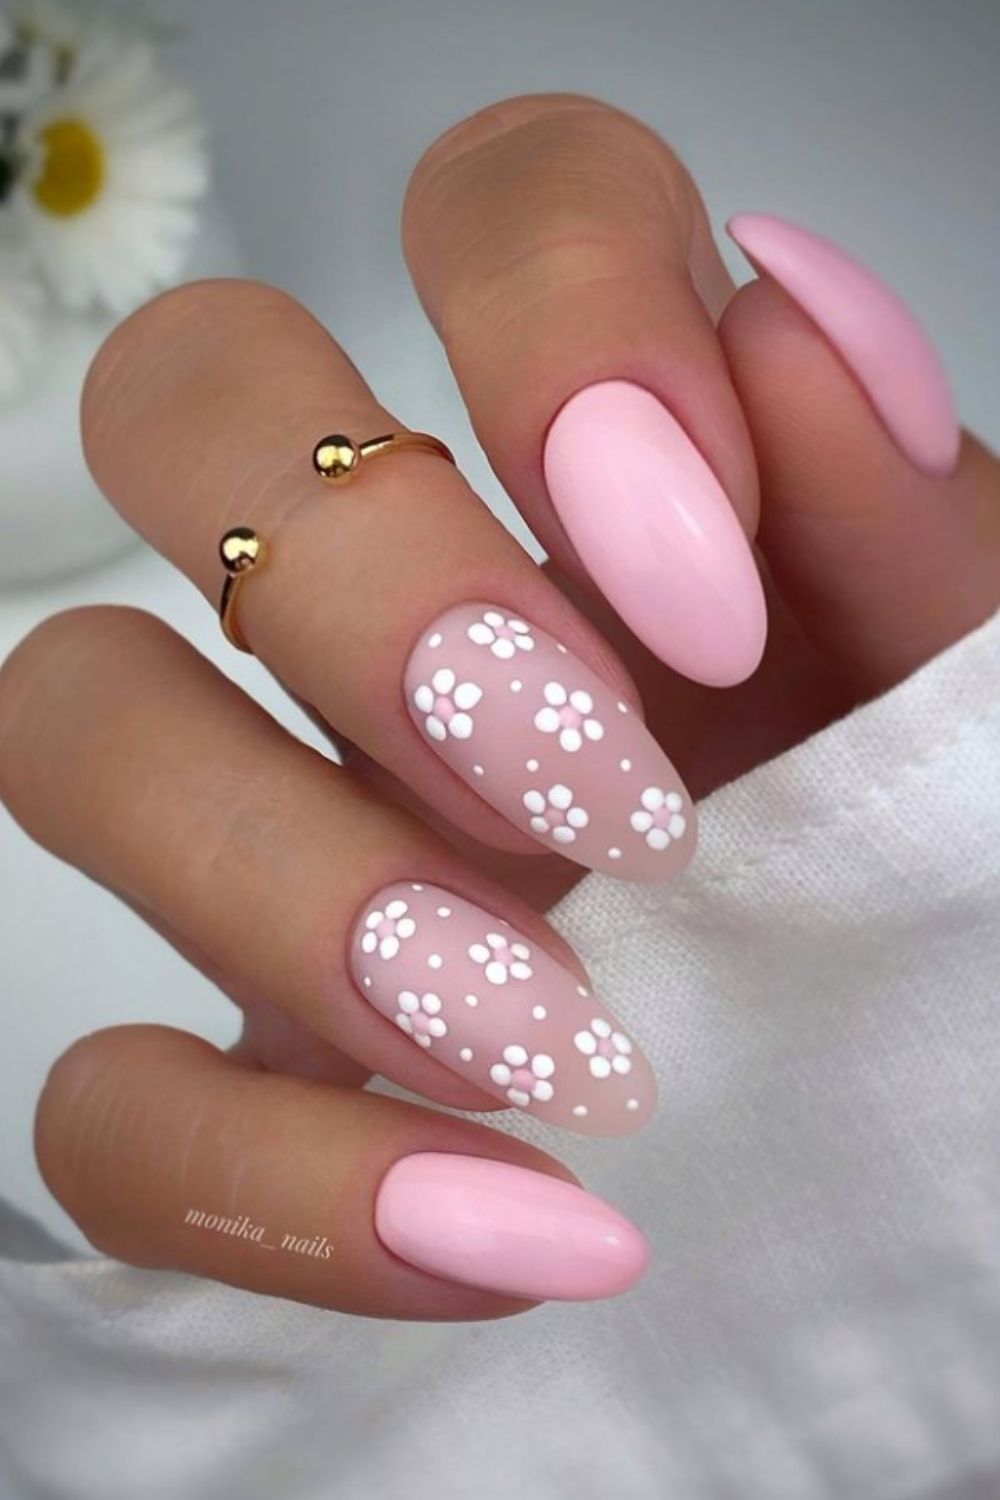
“Pastel floral nails you can do yourself
The soft, delicate colors and intricate floral designs are perfect for spring and summer, and can add a touch of elegance to any outfit. While it may seem daunting to create such intricate designs yourself, with the right tools and a little practice, you can achieve salon-quality pastel floral nails from the comfort of your own home. In this article, we will guide you through the steps to create your own pastel floral nail art, including the materials you’ll need, a step-by-step tutorial, and some tips and tricks to help you get the best results.

Materials Needed
Before you start, make sure you have all the necessary materials. Here’s a list of what you’ll need:
- Nail polish in pastel shades (choose your favorite colors)
- Nail art brushes (various sizes)
- Nail art dotting tool (optional)
- Nail stickers or nail guides (optional)
- Nail cleanser and lint-free wipes
- Cuticle oil and pusher
- Nail file and buffer
- Base coat and top coat
- Nail art rhinestones or glitter (optional)

Preparation
Before you start painting, make sure your nails are clean and dry. Remove any old nail polish and push back your cuticles. Use a nail file to shape your nails to your desired shape, and then buff them to create a smooth surface. Apply a base coat to protect your nails and create a sticky surface for your polish to adhere to.

Choosing Your Pastel Colors
Pastel colors are soft and delicate, and can range from pale pink to baby blue. Choose your favorite pastel shades and make sure they complement each other. Some popular pastel color combinations include:
- Soft pink and baby blue
- Pale yellow and mint green
- Lavender and peach
- Powder blue and pale pink

Step-by-Step Tutorial
Now it’s time to start creating your pastel floral nail art! Here’s a step-by-step tutorial to get you started:
- Apply a base coat: Apply a clear base coat to all your nails to protect them and create a sticky surface for your polish to adhere to.
- Paint a pastel background: Choose a light pastel shade and paint a thin layer on all your nails. This will be the background color for your floral design.
- Create your floral design: Using a nail art brush, start creating your floral design. You can use a dotting tool to create small dots for the center of your flowers, and then use a larger brush to paint on the petals. You can also use nail stickers or guides to help you create straight lines and shapes.
- Add details: Once you have your basic floral design, you can add details such as leaves, stems, and centers. Use a small brush to paint on these details, and make sure they are delicate and intricate.
- Add a top coat: Once your design is complete, apply a clear top coat to seal in your polish and add shine to your nails.
Tips and Tricks
Here are some tips and tricks to help you get the best results:
- Use a nail art brush: A nail art brush is essential for creating intricate designs. Look for a brush with synthetic bristles, which are easier to clean and will give you a smoother finish.
- Practice makes perfect: Don’t be discouraged if your first attempts at pastel floral nails don’t turn out as expected. Practice makes perfect, and the more you practice, the better you’ll get.
- Use a light hand: Pastel colors are delicate and can be easily overpowered. Use a light hand when painting, and build up your colors gradually.
- Don’t be afraid to experiment: Pastel floral nails are all about having fun and being creative. Don’t be afraid to experiment with different colors and designs, and see what works best for you.
Common Mistakes to Avoid
Here are some common mistakes to avoid when creating pastel floral nails:
- Applying too much polish: Too much polish can lead to a thick, gloopy finish. Apply polish in thin layers, and let each layer dry before adding more.
- Not using a base coat: A base coat is essential for protecting your nails and creating a sticky surface for your polish to adhere to. Don’t skip this step!
- Not cleaning up as you go: Nail polish can be messy, and it’s easy to get polish on your cuticles and skin. Clean up as you go, and use a lint-free wipe to remove any excess polish.
Adding Embellishments
Once your pastel floral design is complete, you can add embellishments such as rhinestones or glitter to give your nails some extra sparkle. Here are some tips for adding embellishments:
- Use a rhinestone picker: A rhinestone picker is a small tool that allows you to pick up and place small rhinestones onto your nails. This is a great way to add embellishments without making a mess.
- Apply glitter carefully: Glitter can be messy, so apply it carefully and make sure to clean up as you go. Use a small brush to apply glitter to specific areas of your nail, and then use a top coat to seal it in.
Conclusion
Pastel floral nails are a beautiful and delicate way to add some color and elegance to your look. With the right tools and a little practice, you can create salon-quality pastel floral nails from the comfort of your own home. Remember to use a light hand, practice makes perfect, and don’t be afraid to experiment with different colors and designs. And most importantly, have fun and enjoy the process of creating your own beautiful pastel floral nail art!
Inspiration and Ideas
If you’re looking for inspiration and ideas for your pastel floral nails, here are a few places to start:
- Pinterest: Pinterest is a great place to find inspiration and ideas for pastel floral nails. Browse through the many boards and pins, and save your favorite designs to try out later.
- Nail art blogs: There are many nail art blogs out there that feature beautiful and creative pastel floral designs. Browse through these blogs to find inspiration and ideas, and learn new techniques and tips.
- Instagram: Instagram is a great place to find inspiration and ideas for pastel floral nails. Follow your favorite nail artists and bloggers, and browse through the many hashtags and tags to find new and creative designs.
By following these tips and tricks, and with a little practice and patience, you can create your own beautiful pastel floral nail art. Happy painting!