“Simple spring nail designs to do at home
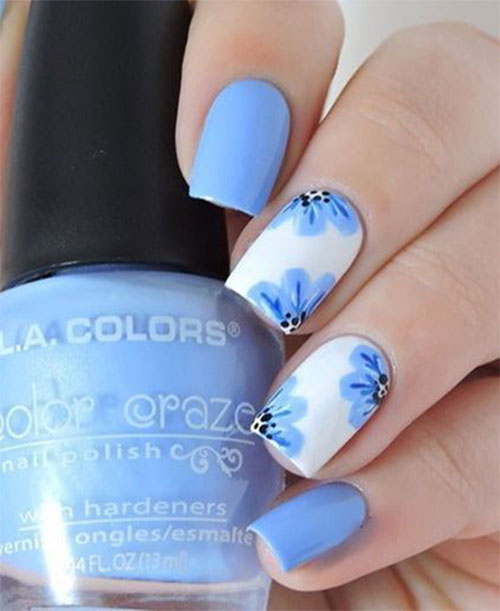
Use a dotting tool to create small flowers and leaves, and finish with a clear top coat.

Step-by-Step Guide to Creating Spring Nail Designs
Here’s a step-by-step guide to creating some of the spring nail designs mentioned above:

Pastel Floral Nails
- Apply a base coat to your nails to protect them from staining.
- Paint a thin layer of pastel pink polish on each nail.
- Use a dotting tool to create small flowers and leaves on each nail.
- Paint a thin layer of clear top coat to seal in the design.
- Finish with a top coat to add shine and protection.

Spring Stripe Nails
- Apply a base coat to your nails to protect them from staining.
- Paint a thin layer of white polish on each nail.
- Use nail tape to create horizontal stripes in shades of pink, blue, and yellow.
- Apply a thin layer of clear top coat to seal in the design.
- Finish with a top coat to add shine and protection.
Tips and Tricks
Here are some tips and tricks to help you create stunning spring nail designs at home:
- Use a base coat to protect your nails from staining and to help your polish last longer.
- Apply thin layers of polish to avoid pooling and to help the polish dry faster.
- Use a dotting tool to create small details, such as flowers and leaves.
- Use nail tape to create crisp, straight lines and geometric shapes.
- Finish with a top coat to add shine and protection to your nails.
- Practice makes perfect! Don’t be discouraged if your first attempts at nail art don’t turn out as expected. Keep practicing, and you’ll soon become a pro at creating stunning spring nail designs.
Spring Nail Art Inspiration
If you’re looking for more spring nail art inspiration, here are some ideas to get you started:
- Floral patterns, such as roses, tulips, and daffodils
- Butterfly and bee designs
- Colorful stripes and geometric shapes
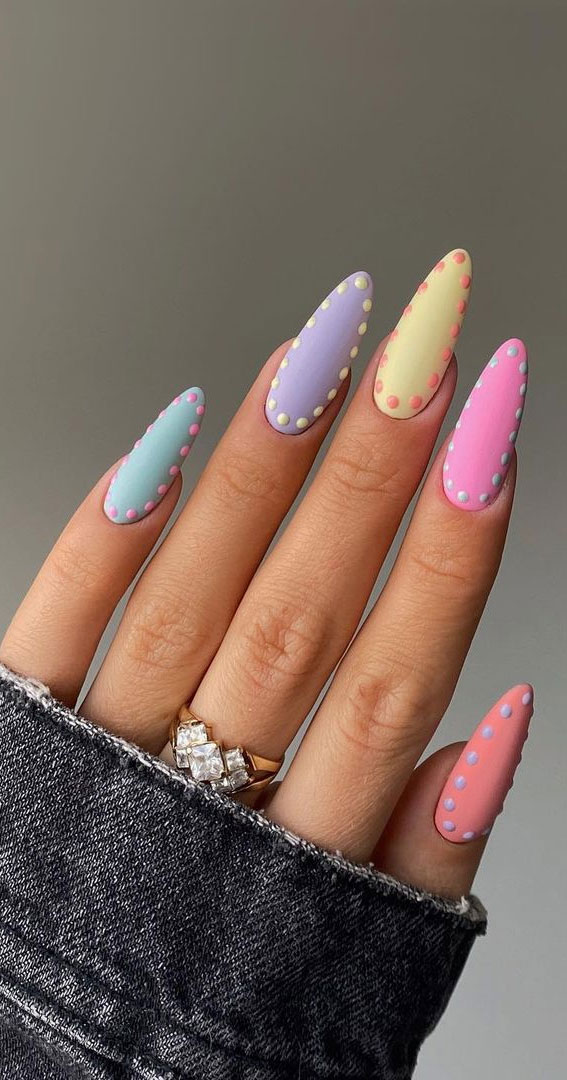
- Pastel shades and ombre effects
- Glitter and rhinestone accents
- Nature-inspired designs, such as leaves and branches
Conclusion
Spring is the perfect time to refresh your nail look and try out new and exciting designs. With a few simple tools and techniques, you can create stunning spring nail designs at home. Whether you’re a beginner or a seasoned nail art enthusiast, there’s something for everyone in this article. So, get creative, have fun, and happy spring!
FAQs
Here are some frequently asked questions about spring nail designs:
Q: What are the best nail polish colors for spring?
A: Pastel shades, brights, and whites are popular colors for spring nail designs.
Q: How can I create a floral nail design?
A: Use a dotting tool to create small flowers and leaves, and finish with a clear top coat.
Q: What is the best way to apply nail stickers?
A: Apply nail stickers to your nails using nail glue, and finish with a top coat.
Q: How can I create a geometric nail design?
A: Use nail tape to create crisp lines, and finish with a top coat.
Q: What is the best way to remove old nail polish?
A: Use a nail polish remover to gently remove old polish, and follow up with a base coat to protect your nails.
By following these tips and tricks, you’ll be well on your way to creating stunning spring nail designs at home. Happy spring, and happy nail art!