“How to do colorful spring nails at home?
One of the easiest and most effective ways to do so is by giving your nails a colorful makeover. In this article, we’ll show you how to create stunning spring-inspired nail designs from the comfort of your own home.

Gather Your Materials
Before you start, make sure you have all the necessary tools and supplies within arm’s reach. Here’s what you’ll need:
- A nail polish remover (to clean up any existing nail polish)
- A nail file (to shape and smooth out your nails)
- A cuticle pusher or orange stick (to gently push back your cuticles)
- A buffer (to buff your nails and create a smooth surface)
- A base coat (to protect your nails and create a smooth canvas)
- A selection of spring-inspired nail polishes (choose your favorite colors and finishes)
- A top coat (to seal in your design and add shine)
- Nail art brushes (for creating intricate designs)
- Nail stickers or guides (for creating straight lines or geometric patterns)
- A nail polish clean-up brush (for cleaning up any mistakes)

Prep Your Nails
Before you start painting, take a few minutes to prep your nails. This will ensure a smooth, even application of polish and help your design last longer.
- Remove old nail polish: Use a nail polish remover to wipe away any existing polish from your nails. This will help prevent unevenness and staining.
- Shape your nails: Use a nail file to gently shape and smooth out your nails. This will help create a clean canvas for your design.
- Push back your cuticles: Use a cuticle pusher or orange stick to gently push back your cuticles. This will help create a smooth surface and prevent any unevenness.
- Buff your nails: Use a buffer to buff your nails and create a smooth surface. This will help the polish adhere evenly and prevent any ridges or imperfections.

Choose Your Colors
Spring is all about bright, bold colors and playful patterns. Here are some popular color combinations to inspire you:
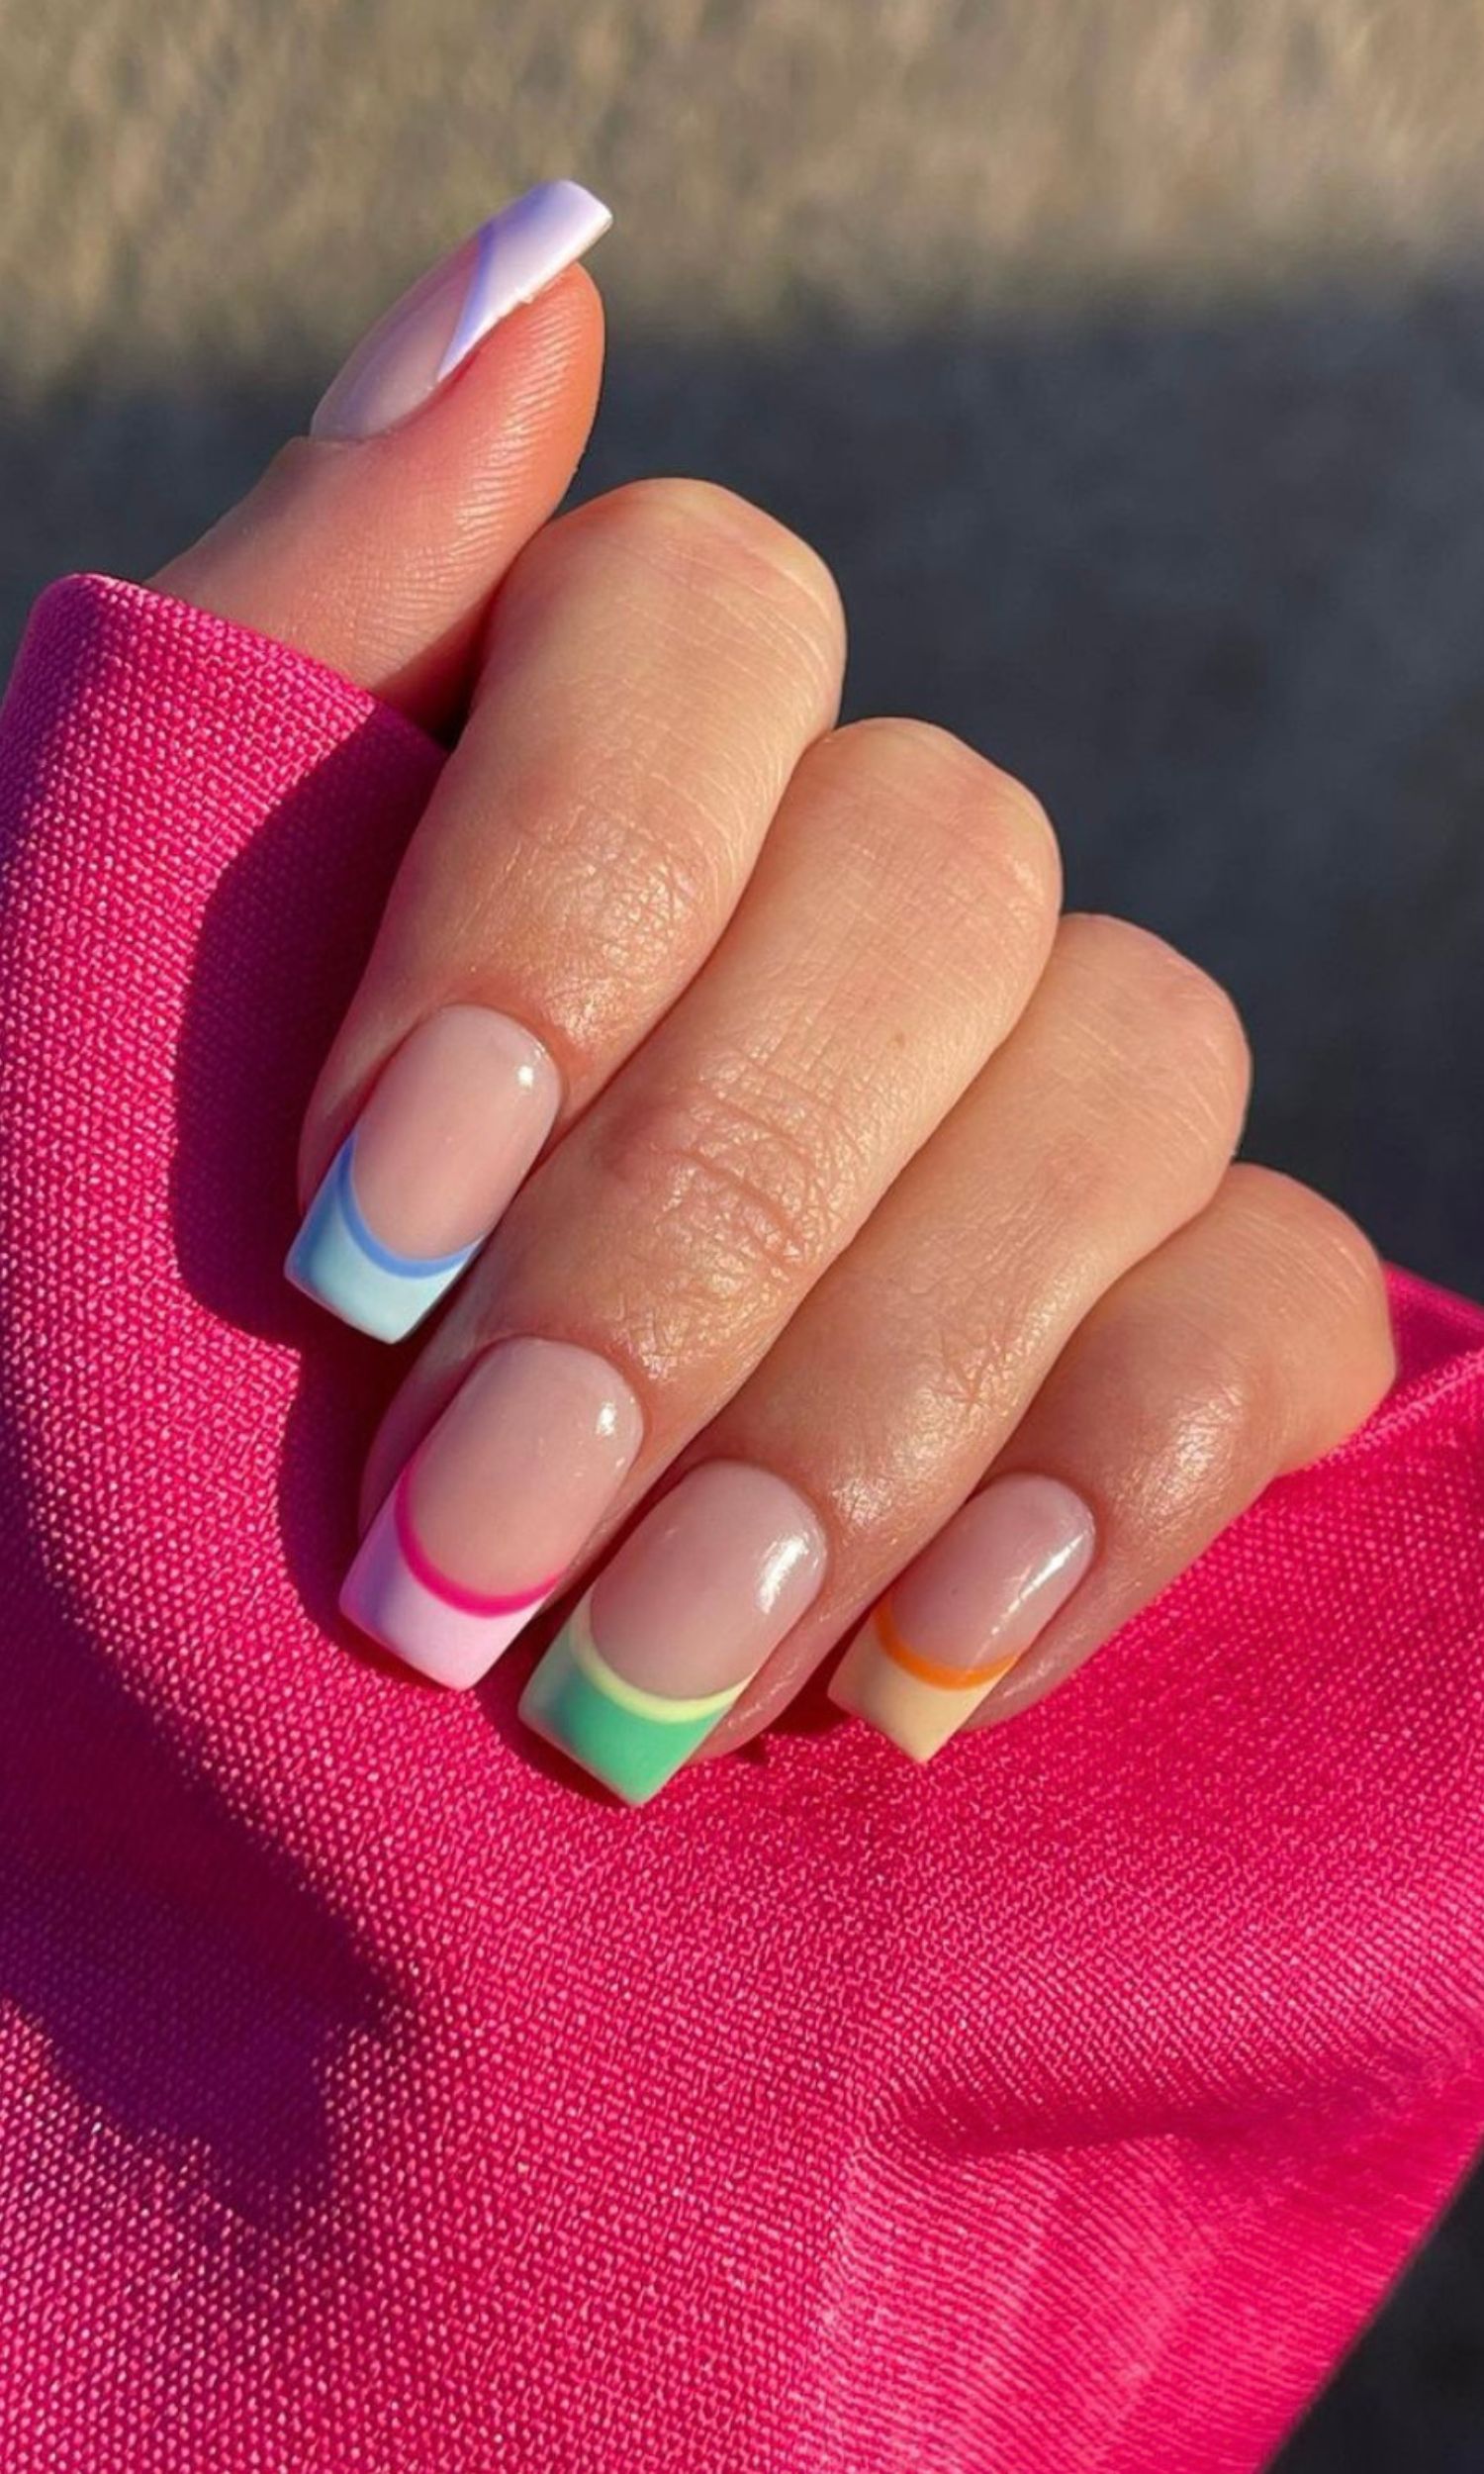
- Pastel paradise: Soft pink, baby blue, and mint green are classic spring colors that evoke a sense of freshness and femininity.
- Floral fusion: Combine bold shades like coral, yellow, and orange with softer pastel hues for a vibrant, garden-inspired look.
- Neon dreams: Brighten up your nails with neon pink, green, or blue for a fun and playful look that’s perfect for spring.
Create Your Design
Now it’s time to get creative! Here are a few ideas to get you started:
- Striped nails: Use nail stickers or guides to create straight lines and paint alternating stripes in your chosen colors.
- Floral patterns: Use a nail art brush to paint tiny flowers, leaves, or branches in a combination of colors.
- Polka dots: Use a dotting tool or a nail art brush to create small dots in a random or patterned design.
- Ombre effect: Gradually blend one color into another to create a stunning ombre effect.
- Geometric patterns: Use nail stickers or guides to create geometric shapes like chevrons, triangles, or hexagons.
Apply Your Polish
With your design in mind, it’s time to start painting!
- Apply a base coat: Use a clear base coat to protect your nails and create a smooth canvas.
- Paint your design: Use a nail polish brush to paint your design, starting with the lightest color first.
- Build up your colors: Gradually build up your colors, allowing each layer to dry completely before adding the next.
- Finish with a top coat: Use a clear top coat to seal in your design and add shine.
Clean Up and Finishing Touches
The final step is to clean up any mistakes and add a few finishing touches.
- Clean up around your cuticles: Use a nail polish clean-up brush to gently remove any polish that has gotten on your cuticles or skin.
- Apply a cuticle oil: Use a cuticle oil to hydrate and nourish your cuticles.
- Add a nail art sealant: Use a nail art sealant to protect your design and prevent chipping.
Tips and Variations
Here are a few tips and variations to take your spring nail design to the next level:
- Add some glitter: Use a glitter polish or top coat to add some extra sparkle to your design.
- Try a nail stamp: Use a nail stamp to create intricate patterns and designs.
- Get creative with nail art: Use nail art brushes and dotting tools to create intricate designs and patterns.
- Experiment with different finishes: Try out different finishes like matte, satin, or holographic to add some extra depth and interest to your design.
Common Mistakes to Avoid
When creating your spring nail design, here are a few common mistakes to avoid:
- Applying polish too thickly: This can lead to unevenness and a tacky finish. Try to apply thin coats and allow each layer to dry completely before adding the next.
- Not using a base coat: This can lead to staining and unevenness. Always use a clear base coat to protect your nails and create a smooth canvas.
- Not cleaning up around your cuticles: This can lead to a messy finish and unevenness. Use a nail polish clean-up brush to gently remove any polish that has gotten on your cuticles or skin.
Conclusion
Creating colorful spring nails at home is easier than you think. With a few simple tools and supplies, you can create stunning, professional-looking designs that will add a pop of color and personality to your look. Remember to prep your nails, choose your colors, and get creative with your design. Don’t be afraid to experiment and try out new techniques – and most importantly, have fun! With these tips and tricks, you’ll be well on your way to creating beautiful, spring-inspired nails that will make you feel confident and stylish all season long.


