“How to get trendy spring nails at home?
Gone are the dark, muted colors of winter; it’s time to welcome brighter, bolder hues and trendy nail art designs that scream spring. The good news is that you don’t have to break the bank or visit a salon to get trendy spring nails. With a few simple tools and some practice, you can achieve salon-quality nails in the comfort of your own home.

In this article, we’ll take you through a step-by-step guide on how to get trendy spring nails at home. From preparation to finishing touches, we’ll cover it all. So, let’s get started!
Preparation is Key
Before you begin, make sure you have all the necessary tools and supplies. Here’s a list of what you’ll need:
- Nail polish remover
- Nail clippers
- Nail file
- Cuticle pusher or orange stick
- Cuticle remover
- Nail buffer
- Base coat
- Nail polish (choose your favorite spring-inspired colors)
- Top coat
- Nail art brushes (optional)
- Nail stickers or guides (optional)

Next, prepare your nails by removing any old nail polish and washing your hands to remove any oils or lotions. Use a nail file to shape your nails to your desired shape, and use a cuticle pusher or orange stick to gently push back your cuticles.
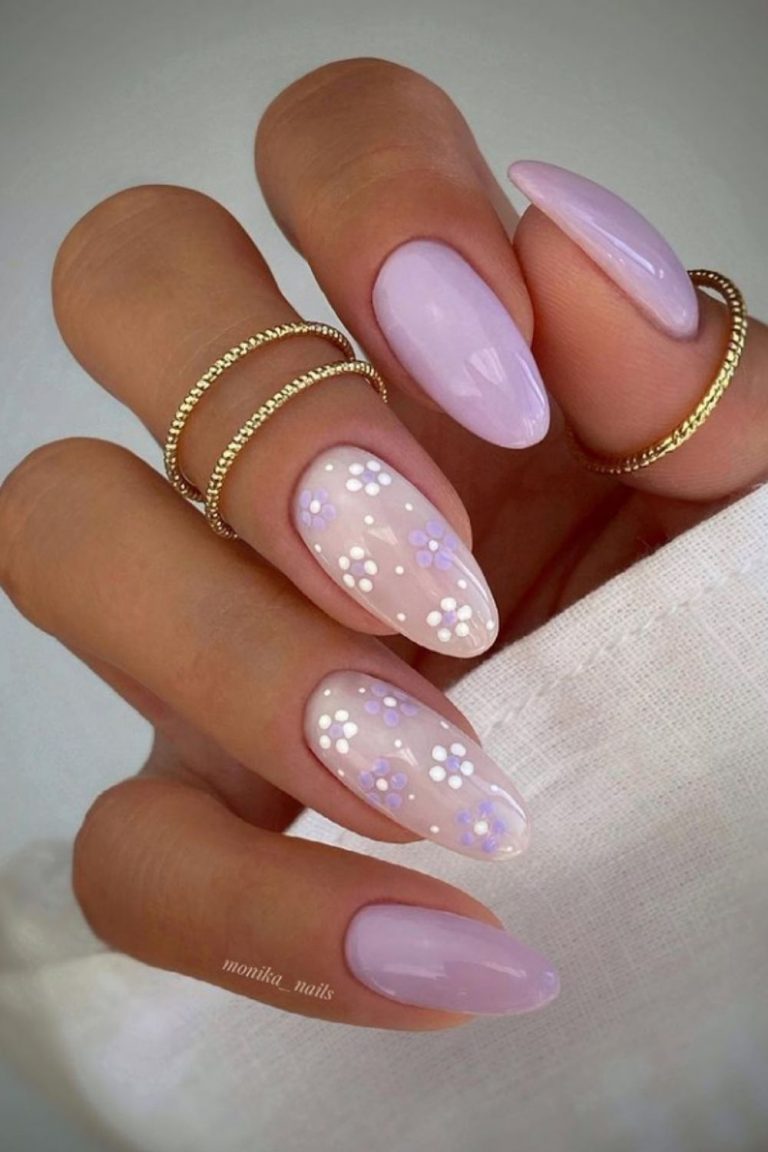
Current Spring Nail Trends
Before we dive into the nitty-gritty of creating your own spring nails, let’s take a look at some of the current trends. This spring, it’s all about:
- Pastel colors: Soft pink, baby blue, and mint green are just a few of the pastel colors that are dominating the nail scene.
- Bright and bold colors: If pastels aren’t your thing, don’t worry. Bright and bold colors like coral, yellow, and orange are also trending.
- Nail art: From simple stripes to intricate designs, nail art is bigger than ever. Use nail stickers, guides, or freehand it with a nail art brush.
- Geometric shapes: Geometric shapes like triangles, squares, and circles are being used to create unique and eye-catching nail art designs.
- Glitter and holographic: Add some extra sparkle to your nails with glitter or holographic top coats.

Creating Your Own Spring Nails
Now that you’re familiar with the current trends, it’s time to create your own spring nails. Here’s a step-by-step guide:
- Apply a base coat: Apply a clear base coat to protect your nails and create a smooth surface for your polish.
- Choose your color: Select a spring-inspired color that you love, and apply a thin layer to each nail. Make sure to let the first layer dry completely before applying a second coat.
- Add a top coat: Apply a clear top coat to seal in your color and add shine.
- Get creative with nail art: If you want to add some extra flair to your nails, now’s the time to get creative with nail art. Use nail stickers, guides, or freehand it with a nail art brush.
- Finishing touches: Apply a cuticle oil or cream to hydrate your cuticles and nails, and finish off your look with a sprinkle of glitter or a holographic top coat.
Nail Art Tutorials
If you’re new to nail art, don’t worry. We’ve got you covered with some simple and easy-to-follow tutorials.
- Striped nails: Use nail stickers or guides to create straight stripes, or freehand it with a nail art brush.
- Polka dots: Use a dotting tool or a toothpick to create small polka dots on each nail.
- Geometric shapes: Use a combination of nail stickers and freehanding to create geometric shapes like triangles, squares, and circles.
- Floral nails: Use a nail art brush to paint small flowers or use nail stickers to create a floral design.
Tips and Tricks
Here are some tips and tricks to help you achieve salon-quality nails at home:
- Use a nail polish with a built-in base coat: This will save you time and effort, and ensure that your polish lasts longer.
- Apply thin layers: Thin layers of polish will dry faster and prevent streaks and bubbles.
- Don’t overdo it: Less is often more when it comes to nail art. Start with a simple design and build up gradually.
- Practice makes perfect: Don’t be discouraged if your first attempts at nail art don’t turn out as expected. Practice makes perfect, so keep trying until you get the hang of it.
Common Mistakes to Avoid
Here are some common mistakes to avoid when creating your own spring nails:
- Not preparing your nails: Failing to remove old nail polish, shape your nails, or push back your cuticles can lead to a messy and uneven finish.
- Applying too much polish: Applying too much polish can lead to streaks, bubbles, and a long drying time.
- Not using a base coat: Failing to apply a base coat can lead to staining and damage to your nails.
- Not finishing with a top coat: Failing to apply a top coat can lead to a dull and uneven finish.
Conclusion
Getting trendy spring nails at home is easier than you think. With a few simple tools and some practice, you can achieve salon-quality nails in the comfort of your own home. Remember to prepare your nails, choose a spring-inspired color, and get creative with nail art. Don’t be afraid to experiment and try new things – and most importantly, have fun! Whether you’re a seasoned nail artist or a beginner, with these tips and tricks, you’ll be well on your way to creating beautiful and trendy spring nails that will make you stand out from the crowd.


