“Home nail art ideas for spring flowers
One of the most iconic symbols of this season is the blooming flower, and what better way to celebrate its beauty than by incorporating it into your nail art? In this article, we’ll delve into the world of home nail art ideas, focusing on the delightful and easy-to-create designs inspired by spring flowers.

Why Nail Art?
Nail art has become an integral part of modern beauty routines, allowing individuals to express their creativity and showcase their personal style. With the vast array of nail polish colors, techniques, and tools available, the possibilities are endless. Moreover, nail art is an excellent way to add a touch of elegance and sophistication to your overall look, making it perfect for special occasions or everyday wear.
Spring Flower Inspiration
Spring is the season of renewal and rebirth, and the flowers that bloom during this time are a testament to its beauty. From delicate cherry blossoms to vibrant tulips, each flower has its unique charm and character. When it comes to nail art, these flowers can serve as the perfect inspiration for creating stunning and intricate designs.
Some of the most popular spring flowers that can be incorporated into nail art include:
- Tulips: Known for their cup-shaped blooms and slender stems, tulips come in a variety of colors, making them a versatile choice for nail art.
- Daffodils: With their bright yellow petals and trumpet-shaped centers, daffodils are a classic symbol of spring and can add a touch of sunshine to your nail art.
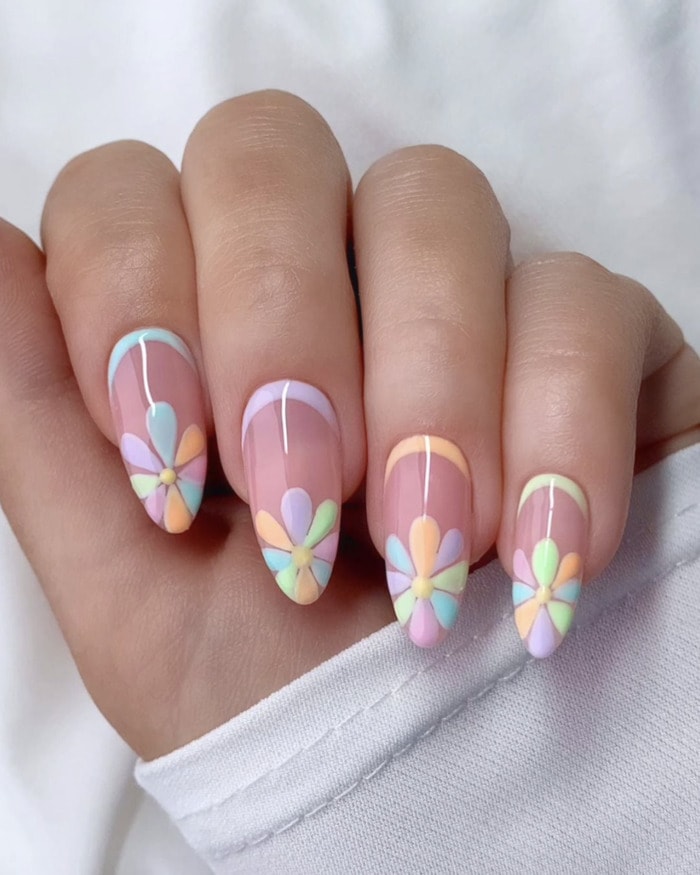
- Cherry Blossoms: These delicate pink flowers are a popular choice for nail art, and their intricate details can be replicated using various techniques and tools.
- Lilacs: The purple hue of lilacs can add a touch of elegance to your nail art, and their small, fragrant blooms can be recreated using subtle brushstrokes and colors.
Home Nail Art Ideas for Spring Flowers
Now that we’ve explored the inspiration behind spring flower nail art, let’s dive into some easy-to-create designs that can be done from the comfort of your own home.
1. Simple Tulip
Materials needed:

- Nail polish in red, green, and yellow
- Nail art brush
- Dotting tool
Step-by-step instructions:
- Apply a base coat to protect your nails.
- Paint a green stem on each nail using a nail art brush.
- Create a tulip bloom by painting a red circle with a yellow center.
- Use a dotting tool to add details, such as the tulip’s stigma and stamens.
- Finish with a top coat to seal your design.
2. Daffodil Delight
Materials needed:
- Nail polish in yellow, orange, and green
- Nail art brush
- Dotting tool
Step-by-step instructions:
- Apply a base coat to protect your nails.
- Paint a yellow trumpet-shaped center on each nail using a nail art brush.
- Add orange petals around the center, creating a layered effect.
- Use a dotting tool to add details, such as the daffodil’s stamens and anthers.
- Paint a green stem on each nail to complete the design.
- Finish with a top coat to seal your artwork.
3. Cherry Blossom Branch
Materials needed:
- Nail polish in pink, green, and white
- Nail art brush
- Dotting tool
Step-by-step instructions:
- Apply a base coat to protect your nails.
- Paint a green branch on each nail using a nail art brush.
- Create cherry blossoms by painting small pink circles with white centers.
- Use a dotting tool to add details, such as the blossoms’ stamens and anthers.
- Add a few white dots to create a sense of movement and texture.
- Finish with a top coat to seal your design.
4. Lilac Wreath
Materials needed:
- Nail polish in purple, green, and white
- Nail art brush
- Dotting tool
Step-by-step instructions:
- Apply a base coat to protect your nails.
- Paint a green wreath on each nail using a nail art brush.
- Create lilac blooms by painting small purple circles with white centers.
- Use a dotting tool to add details, such as the lilac’s stamens and anthers.
- Add a few white dots to create a sense of movement and texture.
- Finish with a top coat to seal your design.
Tips and Tricks
To ensure that your spring flower nail art turns out beautifully, keep the following tips and tricks in mind:
- Use a base coat: A base coat helps protect your nails from staining and promotes polish adhesion.
- Choose the right brushes: Invest in a variety of nail art brushes, including fine-tip and flat brushes, to achieve intricate details and smooth strokes.
- Practice makes perfect: Don’t be discouraged if your first attempts at nail art don’t turn out as expected. Practice and patience are key to mastering the techniques.
- Use a top coat: A top coat helps seal your design and add shine to your nails.
- Keep it simple: Don’t feel overwhelmed by intricate designs. Start with simple ideas and gradually build up to more complex ones.
Spring Flower Nail Art Tools and Materials
To create stunning spring flower nail art, you’ll need the following tools and materials:
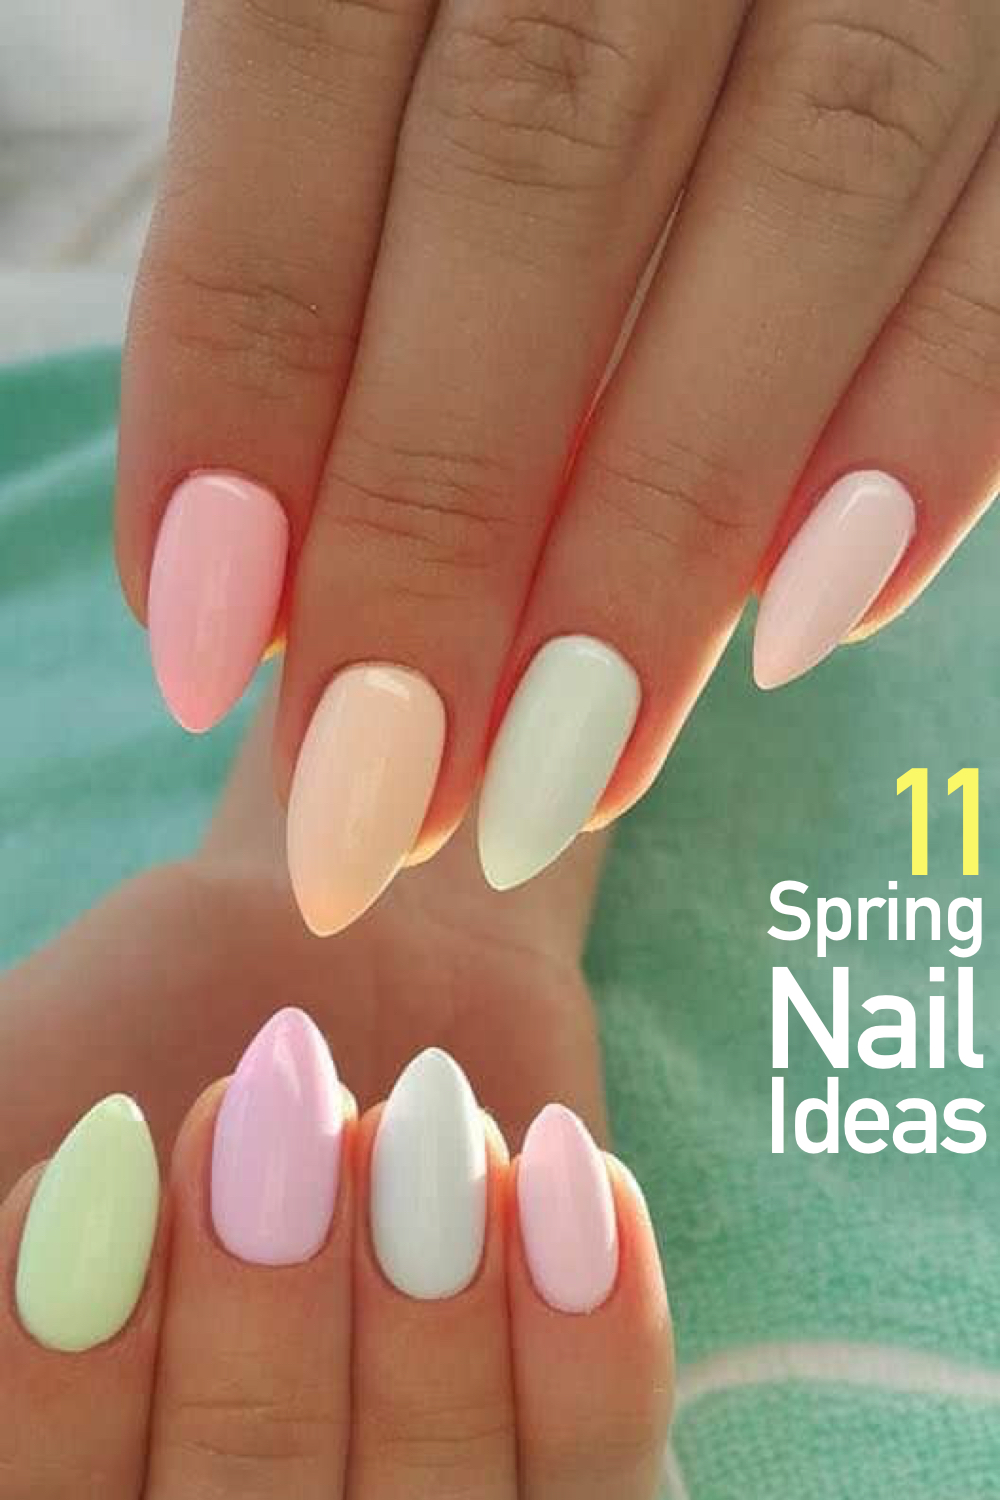
- Nail polish: Invest in a variety of spring-inspired colors, including pastel shades and bright hues.
- Nail art brushes: Choose from a range of brush sizes and shapes to achieve intricate details and smooth strokes.
- Dotting tool: A dotting tool is essential for creating small details, such as stamens and anthers.
- Nail art stamps: Nail art stamps can help you create intricate patterns and designs.
- Nail guides: Nail guides can help you achieve straight lines and crisp edges.
Conclusion
Spring flower nail art is a beautiful way to celebrate the arrival of warmer weather and longer days. With these easy-to-create designs and tips, you can add a touch of elegance and whimsy to your nail art. Whether you’re a seasoned nail artist or a beginner, the world of spring flower nail art is waiting to be explored. So, get creative, have fun, and happy spring!


