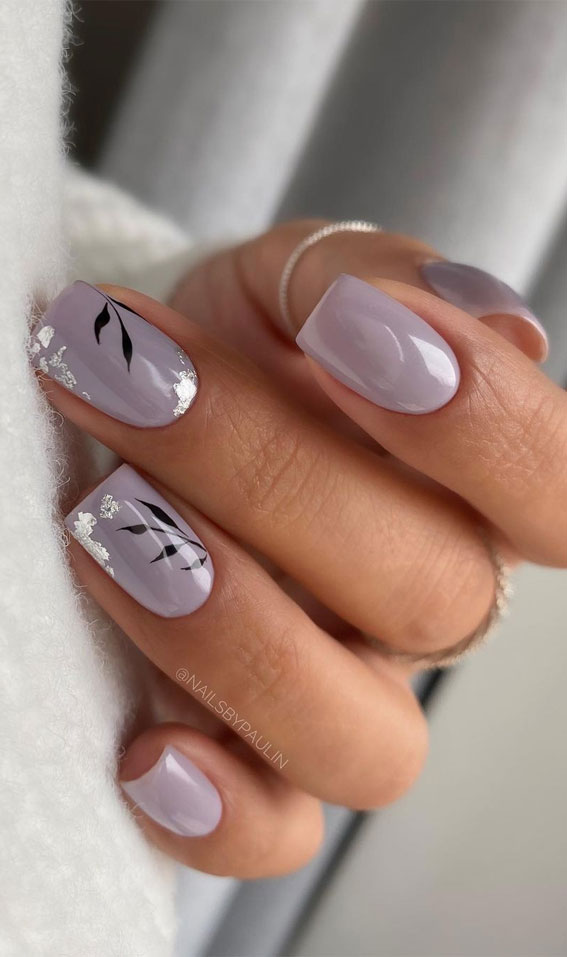
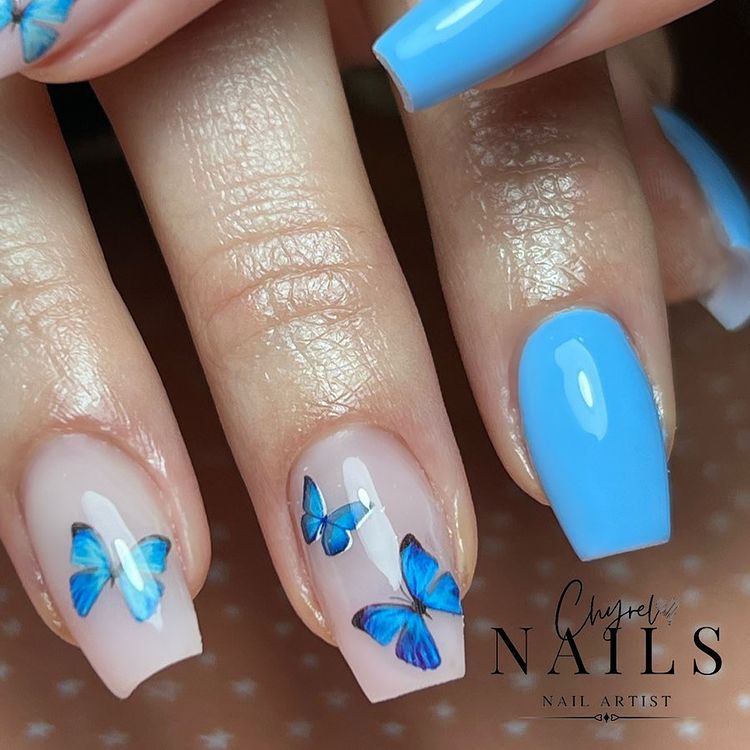
“Short spring nails with butterfly decorations
You can use nail stickers or nail guides to create the butterfly design.
Step-by-Step Guide to Creating Short Spring Nails with Butterfly Decorations
Now that we’ve explored some stunning short spring nail designs with butterfly decorations, let’s take a look at how you can create these designs at home. Here’s a step-by-step guide to get you started:
Materials Needed:
- Nail polish (pastel shades or bright colors)
- Nail stickers or nail guides (for butterfly design)
- Nail glue (for 3D butterfly decorations)
- Nail art brush
- Nail dotting tool
- Top coat


Step 1: Prep Your Nails
Before you start creating your nail design, make sure to prep your nails. Remove any old nail polish and push back your cuticles. Wash your hands to remove any oils or residue.
Step 2: Paint Your Nails
Paint your nails with a base coat to protect your nails and prevent staining. Then, choose your favorite pastel shade or bright color and paint your nails. Make sure to paint in thin coats, allowing each coat to dry before adding the next one.
Step 3: Create the Butterfly Design

Use nail stickers or nail guides to create the butterfly design. You can also use a nail art brush to paint the design freehand. Start by painting the body of the butterfly, then add the wings and antennae.
Step 4: Add 3D Butterfly Decorations (Optional)
If you want to add some extra dimension to your nail design, use nail glue to attach 3D butterfly decorations to your nails. Make sure to apply a small amount of glue to avoid creating a mess.
Step 5: Add Finishing Touches
Use a nail dotting tool to add some subtle shading to your butterfly design. You can also use a nail art brush to add some details, such as veins on the wings.
Step 6: Seal with Top Coat
Finally, seal your nail design with a top coat to protect the polish and prevent chipping. Make sure to apply a thin coat to avoid creating a messy look.
Tips and Tricks
Here are some tips and tricks to help you create stunning short spring nails with butterfly decorations:
- Use a nail art brush to paint the butterfly design freehand for a more unique and personalized look.
- Experiment with different colors and combinations to create a one-of-a-kind design.
- Use nail glue to attach 3D butterfly decorations to your nails for a more dramatic look.
- Practice makes perfect, so don’t be discouraged if your first attempt doesn’t turn out as expected.
Conclusion
Short spring nails with butterfly decorations are a perfect way to welcome the new season. With their delicate beauty and whimsical charm, these designs are sure to turn heads. Whether you’re a nail art beginner or a seasoned pro, creating these designs at home is easy and fun. With the right materials and a little practice, you can create stunning short spring nails that will make you feel confident and beautiful. So why not give it a try and add a touch of whimsy and elegance to your look this spring?